How To Start Growing Sprouts in a Mason Jar
Do you want to grow your own food at home but don’t have space or time for a garden? Are you constantly frustrated by store-bought sprouts going bad within a few days? Are you looking for a nutritionally-dense, delicious addition to your diet?
Sprouts are one of the easiest and most rewarding “micro vegetables” that you can grow in just a matter of days. They’re particularly delicious on toast, stir-fries, and even in baked goods. They’re incredibly dense in nutrients such as protein and vitamin C, and they taste great!
Growing sprouts at home is a great way to start growing some of your own food. It’s surprisingly uncomplicated, fast, and easy. Moreover, the running cost of sprouting at home is incredibly low, much lower than buying sprouts from the grocery store. Plus, when it comes to sustainability, what’s more local than something you can grow at home?
Whether you have a green thumb or not, sprouting is something that anyone can do. Keep reading to learn just how easy it is to get started!
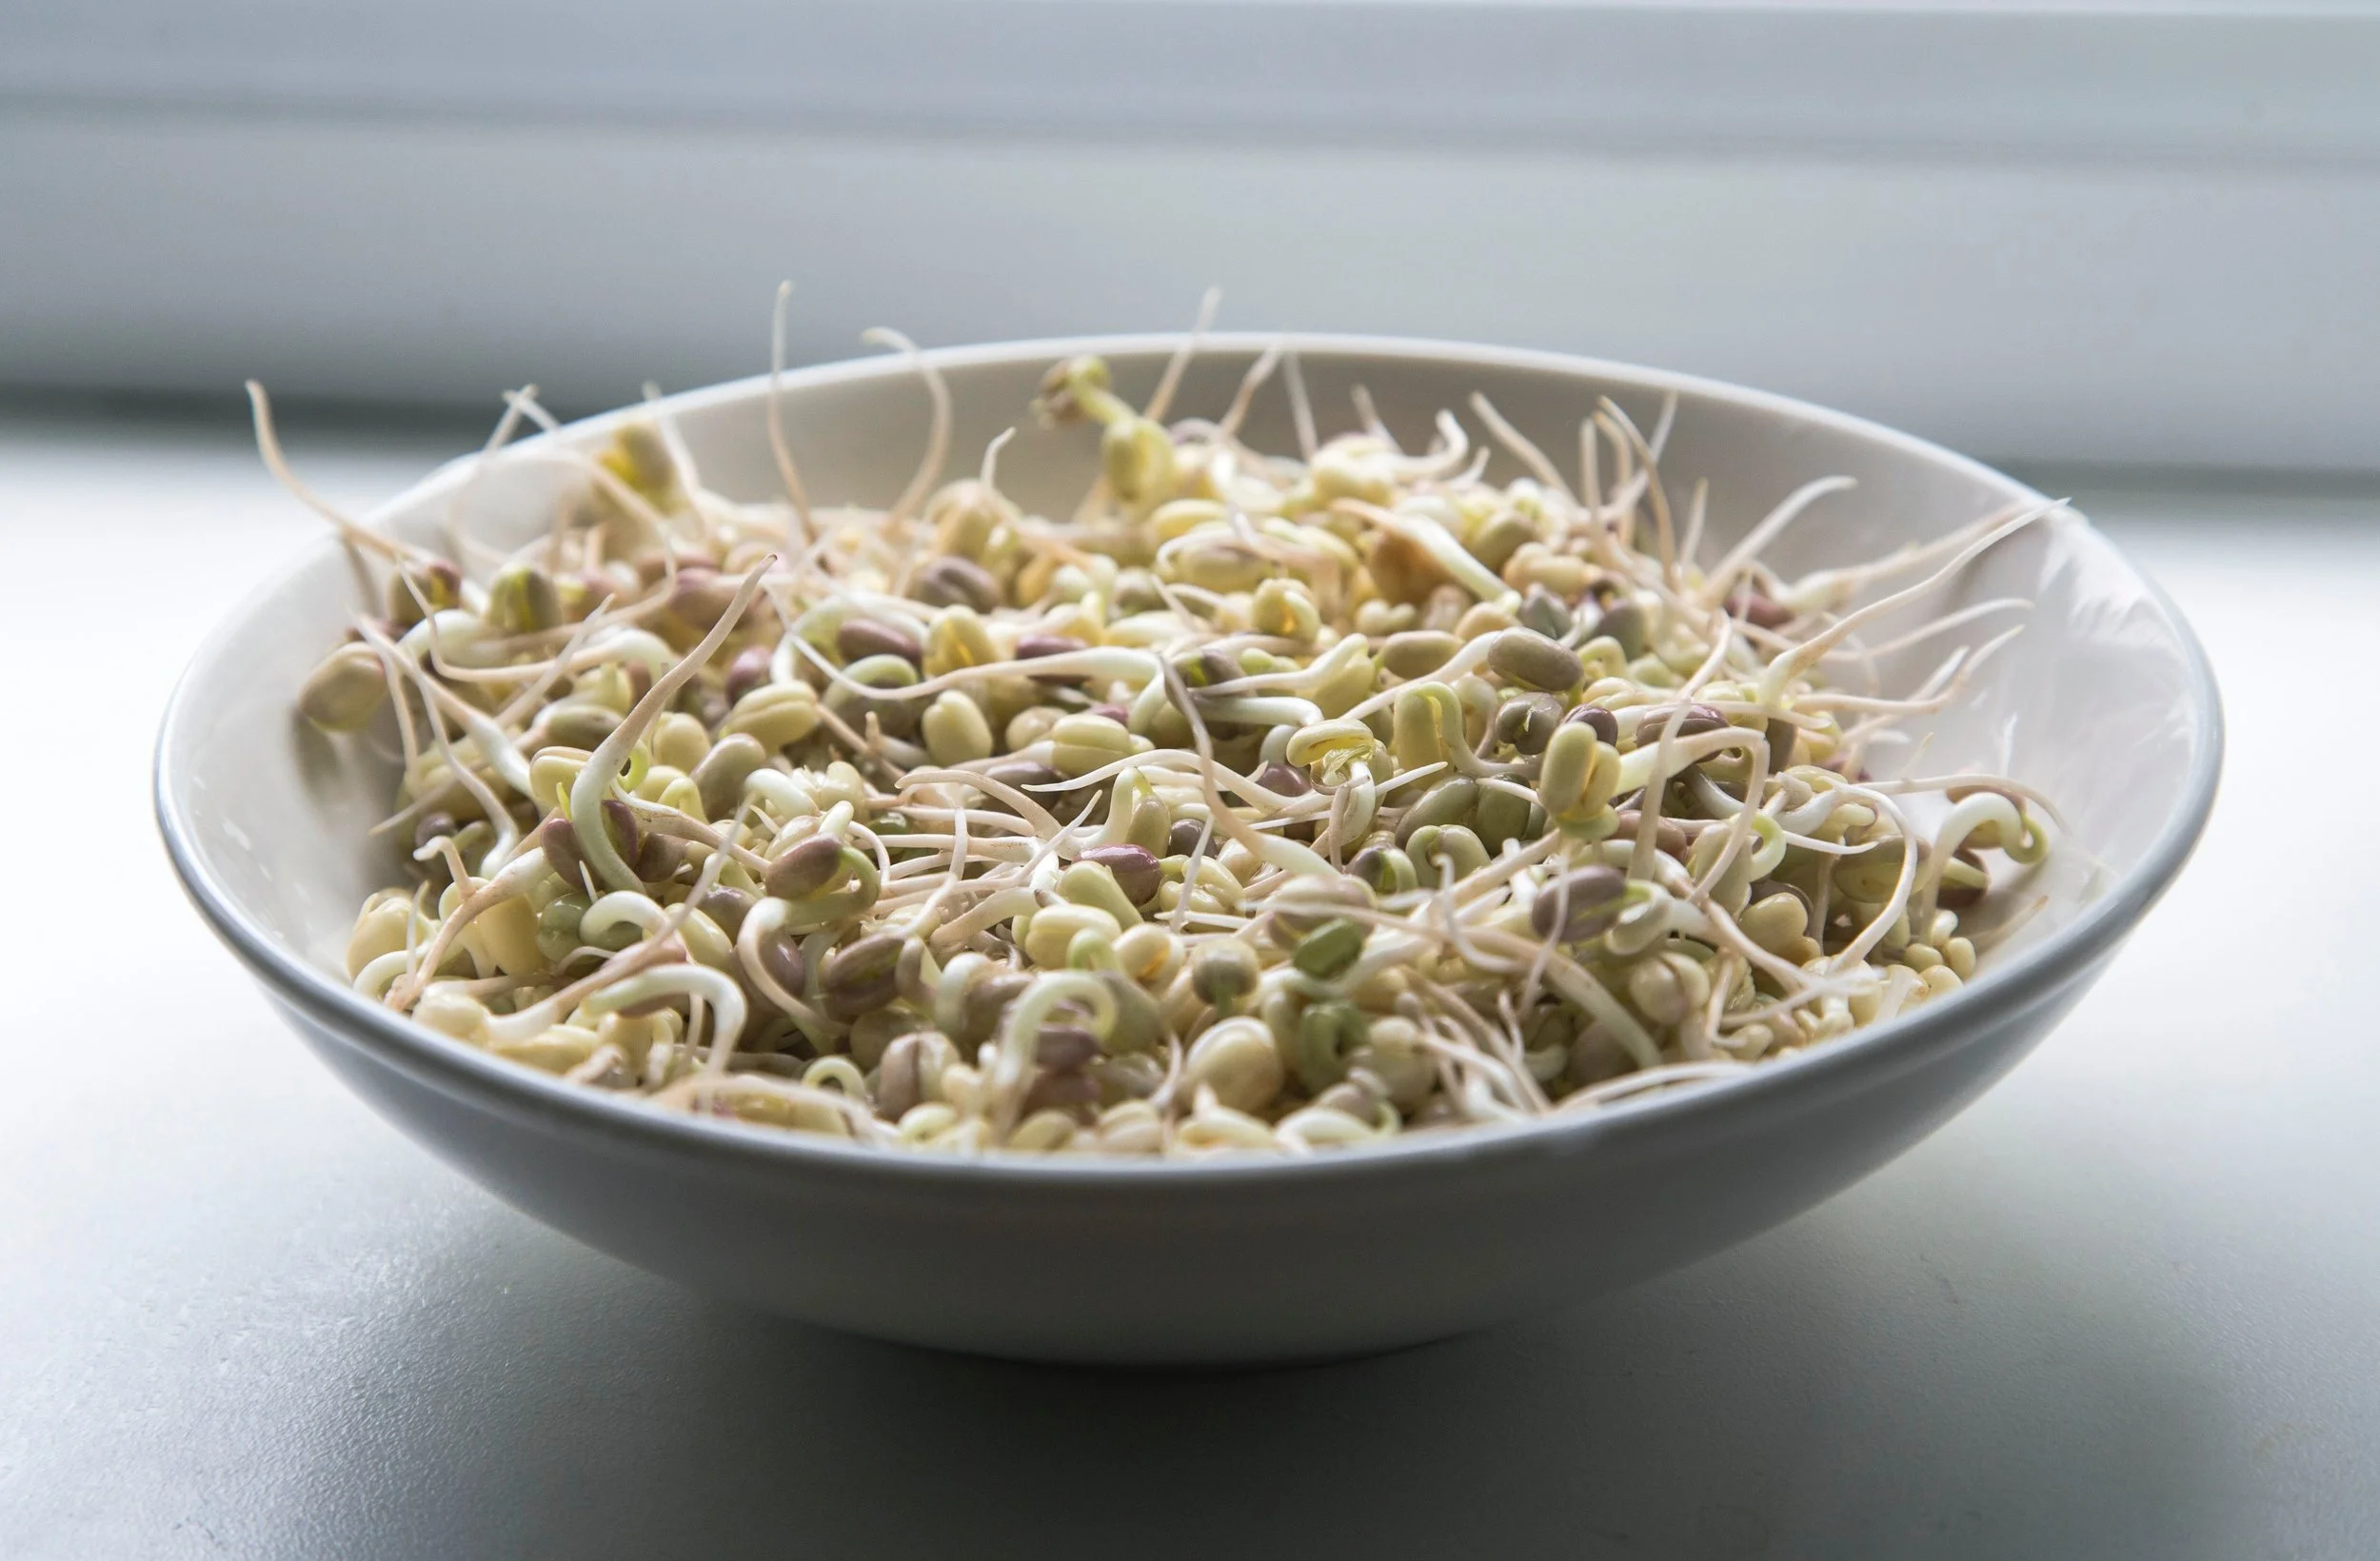
Photo by Milada Vigerova
What are sprouts?
Towards the end of a growing season, plants will usually produce seeds in an effort to replicate themselves for generations to come. Of course, not all plants need to produce seeds in order to propagate, but those that do provide us with seeds that are full of nutrient reserves.
That’s why our society values grains and beans in particular; not only are they a major food source, but they contain a lot of essential nutrients such as protein, fiber, and vitamins (exact nutrient quantities vary from seed to seed).
When seeds find themselves in a favorable environment (usually dark, damp, and warm) they will begin to germinate. The resulting “sprouts” are young plants that still contain all the same nutrients as the seeds, but have not yet developed their true leaves. Microgreens, by contrast, are typically grown in a shallow layer of soil and harvested once the first true leaves have emerged.
As you can imagine, it’s entirely impractical to harvest these micro vegetables out in a field given their size and fragility. As a result, humans have developed methods to produce sprouts quickly and safely. While there are many different methods of sprouting out there, this article will focus on one of the easiest: using a mason jar.
Are sprouts safe to eat?
There has been some amount of controversy around the food safety of sprouted seeds, in particular in regards to young children or pregnant women. So are sprouts safe to eat, or not?
In 2019, the FDA issued draft guidance to the seed sprouting industry in an effort to establish standard food safety practices around sprouting. For example, commercial seed sprouters typically sterilize seeds to get rid of any lingering bacteria, and they follow strict equipment sterilization practices, plus more.
For most of us, that means that store-bought sprouts are safe to eat as long as they’ve been kept refrigerated. Home-grown sprouts, as long as they’ve been grown using the methods described below, should be safe as well. That said, a batch of sprouts that smells “off” or looks like it’s yellowing or browning should not be considered safe to eat and should be composted instead.
Although the risk of food-borne illness from sprouts is small, the FDA recommends avoiding sprouts if you are pregnant or have an otherwise weakened immune system (such as young children or elderly men and women).
If you’re unsure of whether you should consume sprouts or not, make sure to consult your doctor first.
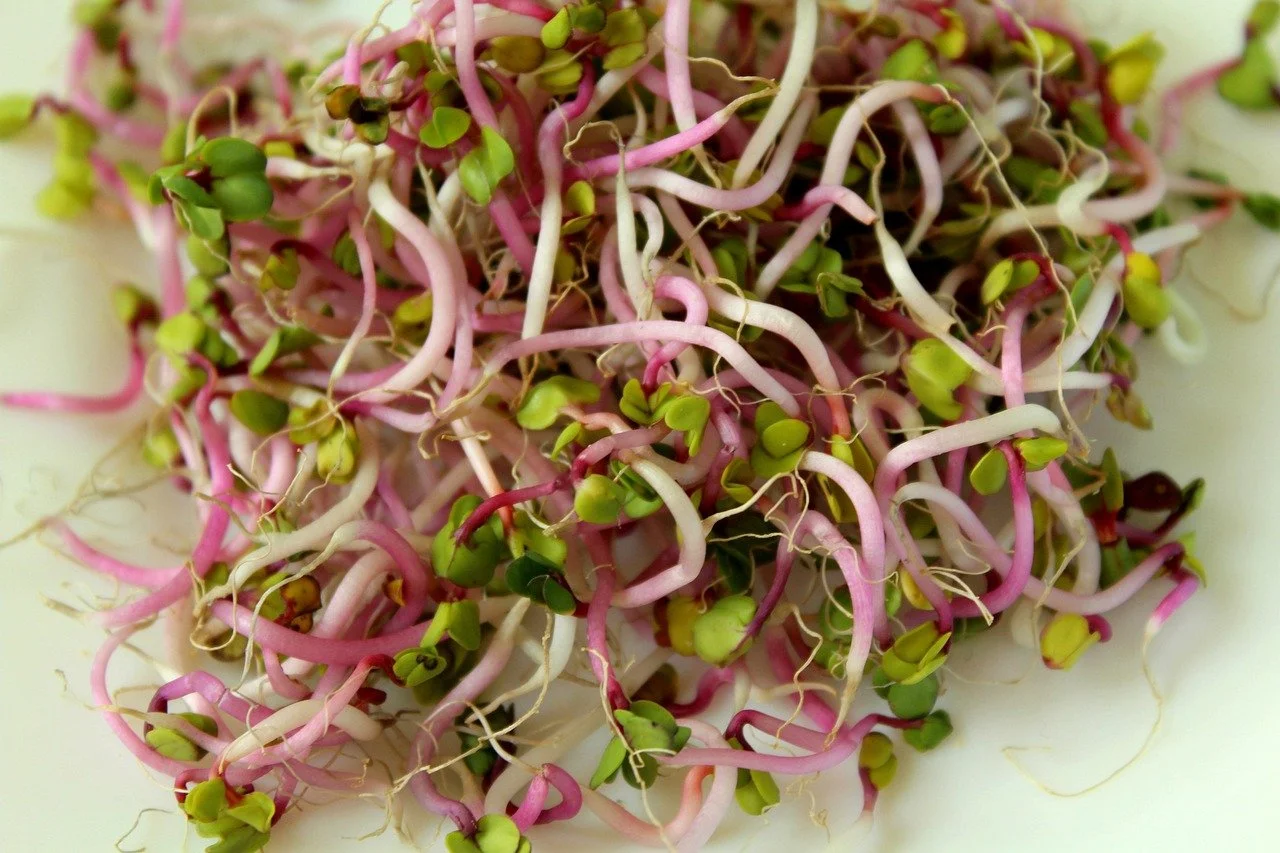
Photo by _Alicja_
Why sprout?
The process of growing your own sprouts at home is an incredibly rewarding one. Unlike growing something such as tomatoes, it only takes about a week or less to have sprouts that are ready to eat! Is there any other vegetable that you can grow in such a short amount of time with such a huge benefit?
Here are our top reasons why everyone should start sprouting at home today:
Sprouts are full of essential nutrients
One seed contains everything a plant needs to start growing, so it’s no surprise that sprouted seeds are packed with nutrients and phytonutrients essential to healthy nutrition. Scientists studying the properties of sprouted seeds have found that they aid the digestion of carbohydrates and proteins, making them more digestible than when they are dry, whole seeds.
Moreover, germination actually helps release enzymes that help pre-digest starch, which can benefit gut health and even reduce gas. Cruciferous vegetables in particular, including broccoli, contain a chemical called sulforaphane that can help reduce the risk of cancer.
To put this benefit in perspective, one cup of broccoli sprouts contains about the same amount of nutrients as 50 cups of cooked broccoli. That means adding just a small amount of sprouts into your diet can have tremendous health benefits!
Sprouting is ultra-local food sourcing
If you’re reading this, you’re likely already familiar with many of the benefits associated with local food sourcing. The most obvious benefit is that local food has a smaller carbon footprint, as it requires less energy to process, store, and transport than food coming from another state or even country as in the case of many of our out-of-season fruits and vegetables.
Less well-known is that local foods can have a higher nutritional profile than those that have spent more time on the road. The reason is twofold. On the one hand, food that has to travel a long distance is usually harvested earlier, before the plant has had a chance to fully develop its fruit. Second, fruits and vegetables continue to respirate after harvesting, resulting in the loss or degradation of nutrients over time.
The benefit of local sourcing is most obvious in tomatoes and strawberries: these are often harvested while still green and unripe, then shipped and often artificially induced to ripen along the way with ethylene. The final product never tastes quite as good as one that has been allowed to ripen on the plant.
How does this apply to sprouts? You can get all of the benefits of local food sourcing, and more, by growing them at home!
Sprouting is cheap and easy
No matter if you think you have a green thumb or not, there’s nothing easier than starting a jar of sprouts in your kitchen. The initial investment is very small, and the running cost is close to nothing for handfuls of delicious, nutrient-dense micro vegetables!
Once you have the supplies you need, the actual sprouting is very easy, and something that even kids can do. All you need to remember is to rinse the seeds (and later, the sprouts) 2-3 times per day to keep the seeds moist and prevent the growth of bacteria.
Are you ready to start yet?
How to sprout: 101
Although growing sprouts is easy, it’s important to follow good practices, so that you end up with sprouts that are delicious and safe to eat.
What you’ll need
As with everything, there’s not just one right way to sprout. In fact, there’s easily a handful of different methods, all of which can yield sprouts in a matter of days. So go on and buy that sprouting kit if you want, but here I will show you that you can start sprouting with things you likely already have in your kitchen!
A quart-sized jar
A square piece of cheesecloth, or a mesh sprouting lid such as this one
A drying rack or jar stand for draining
Sprouting seeds
What kinds of seeds can I sprout?
Sprouting is easy, but choosing what to sprout can be a tough first decision. If you already enjoy consuming sprouts such as bean sprouts or alfalfa sprouts, I recommend starting with those. If you’re not sure, a “salad mix” of sprouting seeds such as one containing radish, broccoli, and alfalfa is a good place to start.
Bottom line, you can sprout all kinds of seeds at home. Here are some of the most popular varieties for guaranteed success:
Radish
Broccoli
Soybean
Mung bean
Alfalfa
Onion
Sunflower
Lentil
Clover
While seeds of all kinds can sprout, you should only consider sprouting with seeds that have been specifically grown and processed for sprouting. These seeds have a higher germination rate and are less likely to harbor potentially harmful bacteria. If you can afford it, it’s even better to buy organic sprouting seeds when possible.
The sprouting process in 5 simple steps
Now that you have your materials and first bag of sprouting seeds, it’s time to get started! The best place to do this is in your kitchen, where you have easy access to fresh water and a sink. Simply keep your jar in an empty spot on your counter out of direct sunlight and with good airflow (so not in a cupboard!).
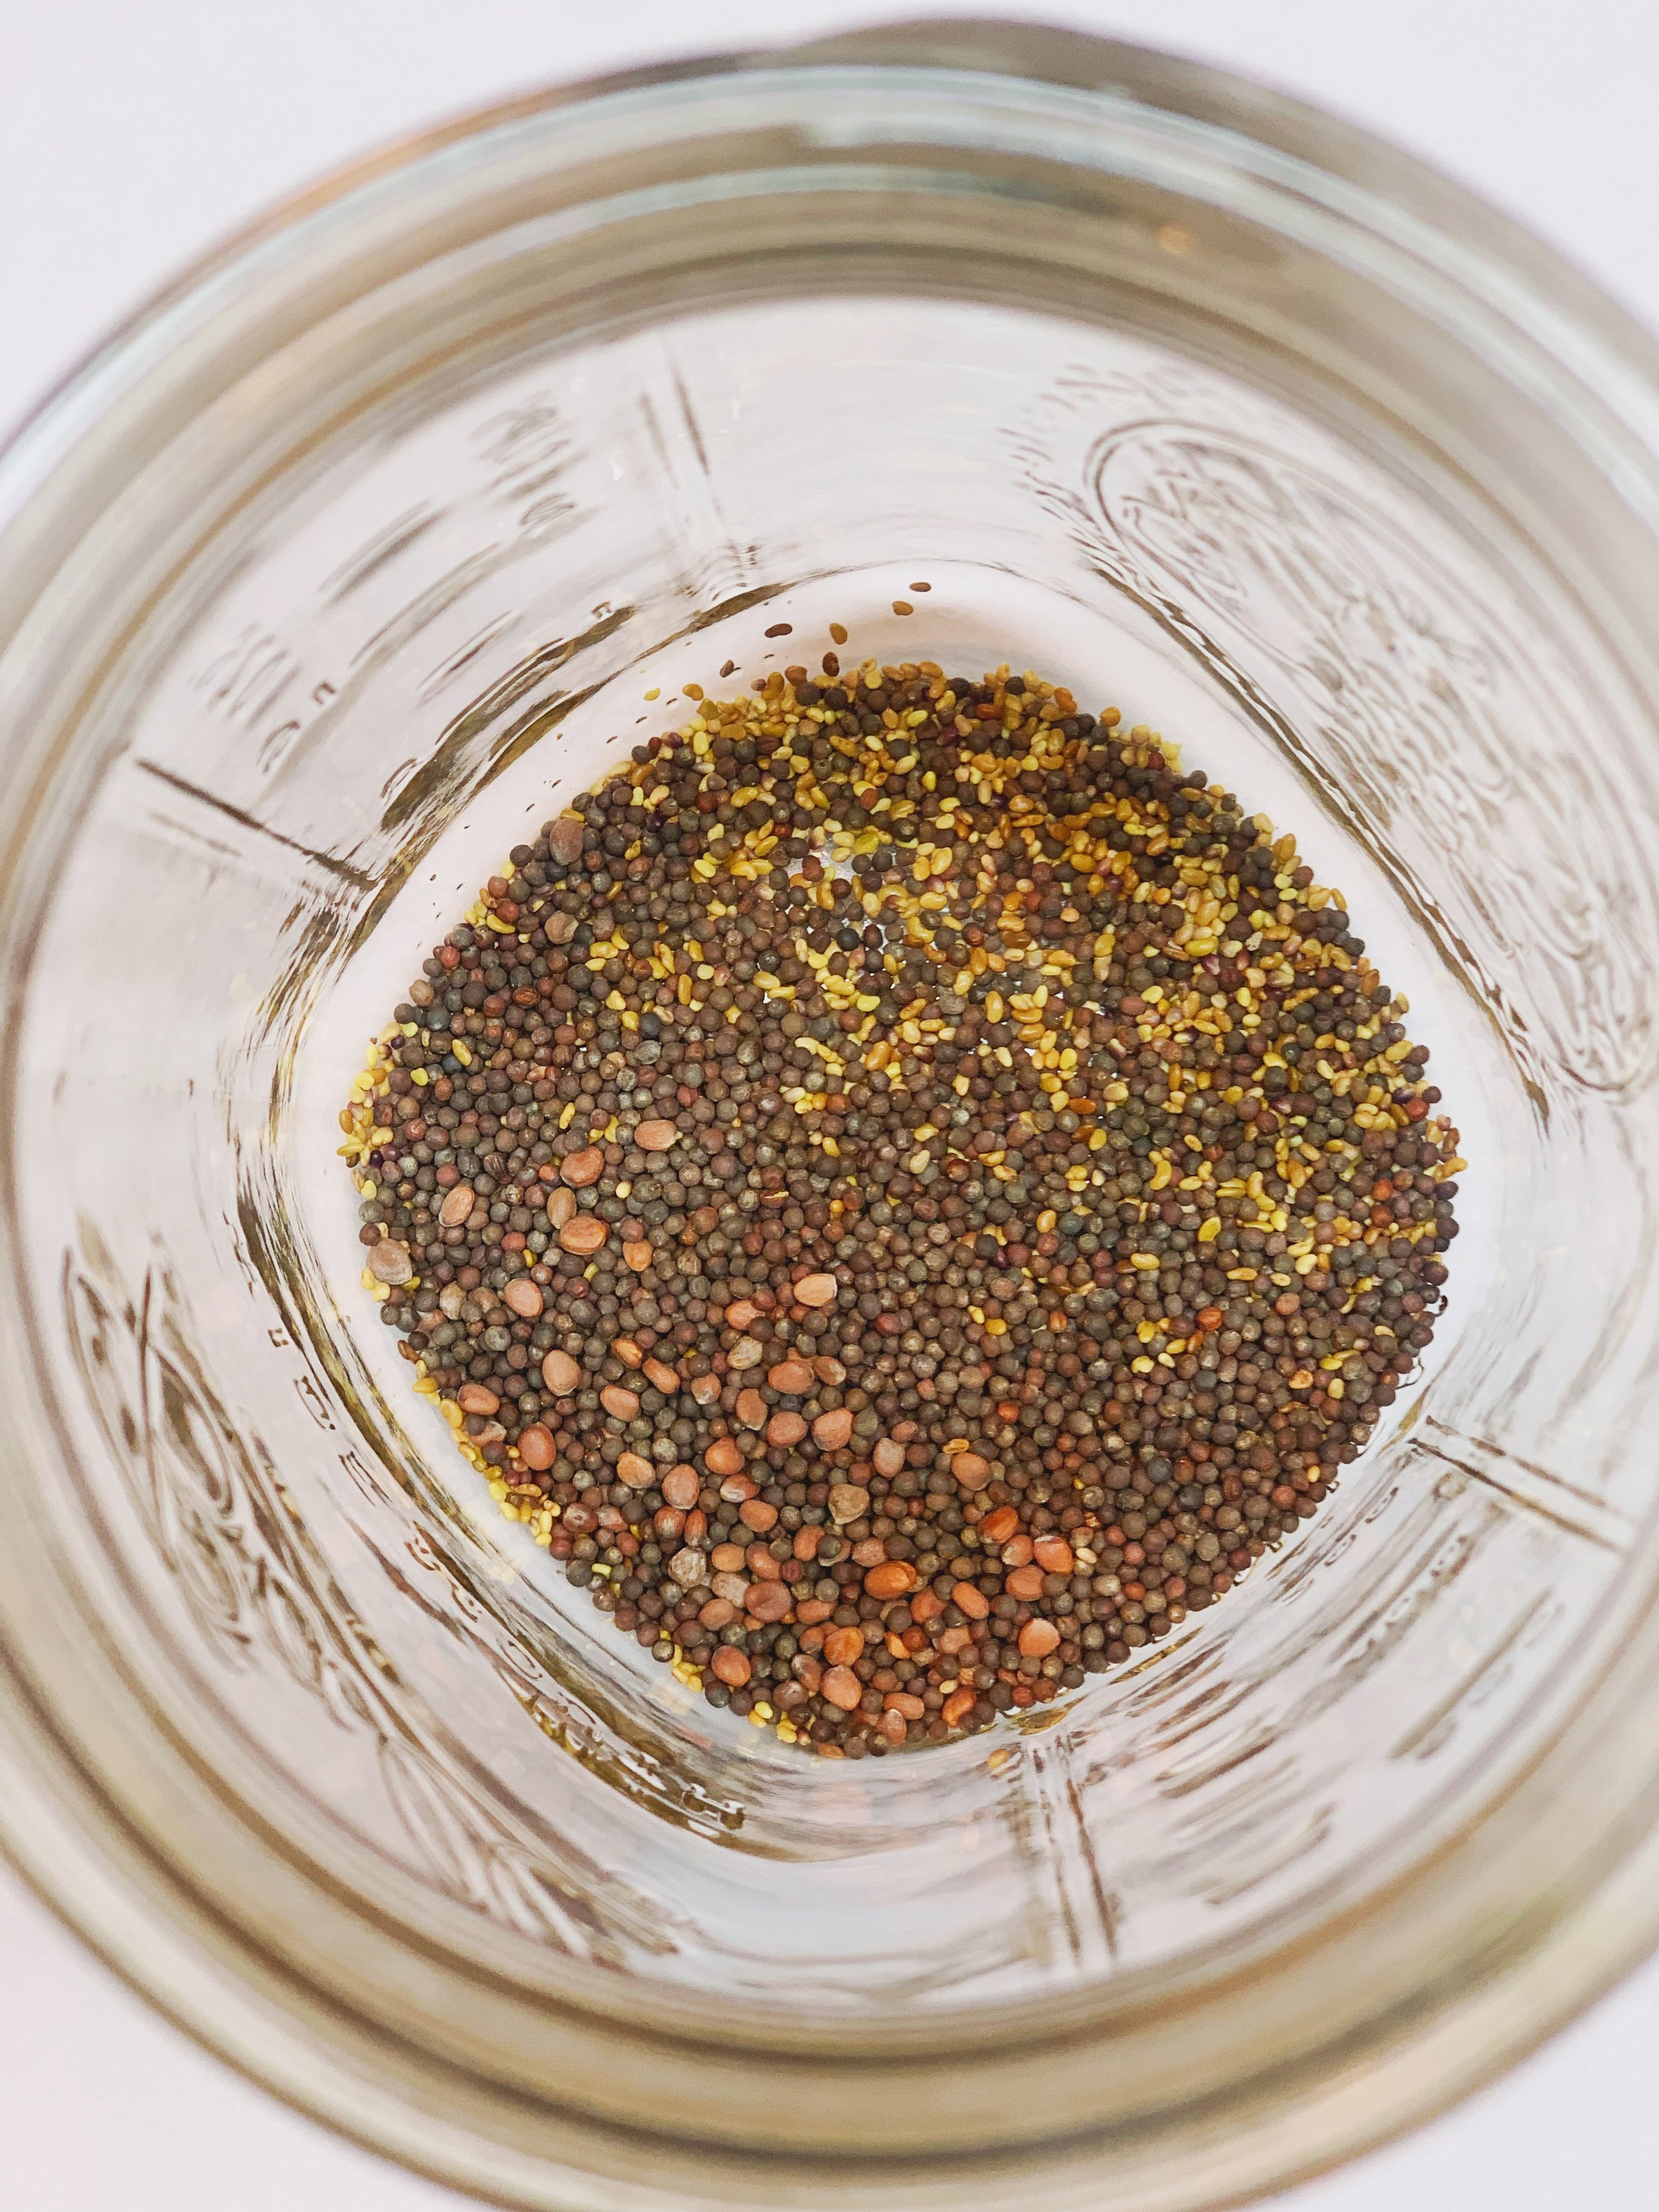
Step 1: Scoop about 2 tablespoons of seeds into your jar.
Step 2: For best hygiene practices, rinse the seeds with vinegar, apple cider vinegar, or a 1-3% hydrogen peroxide solution to remove any lingering bacteria.
Step 3: Soak seeds in water for up to 12 hours (overnight is an easy way to do so).
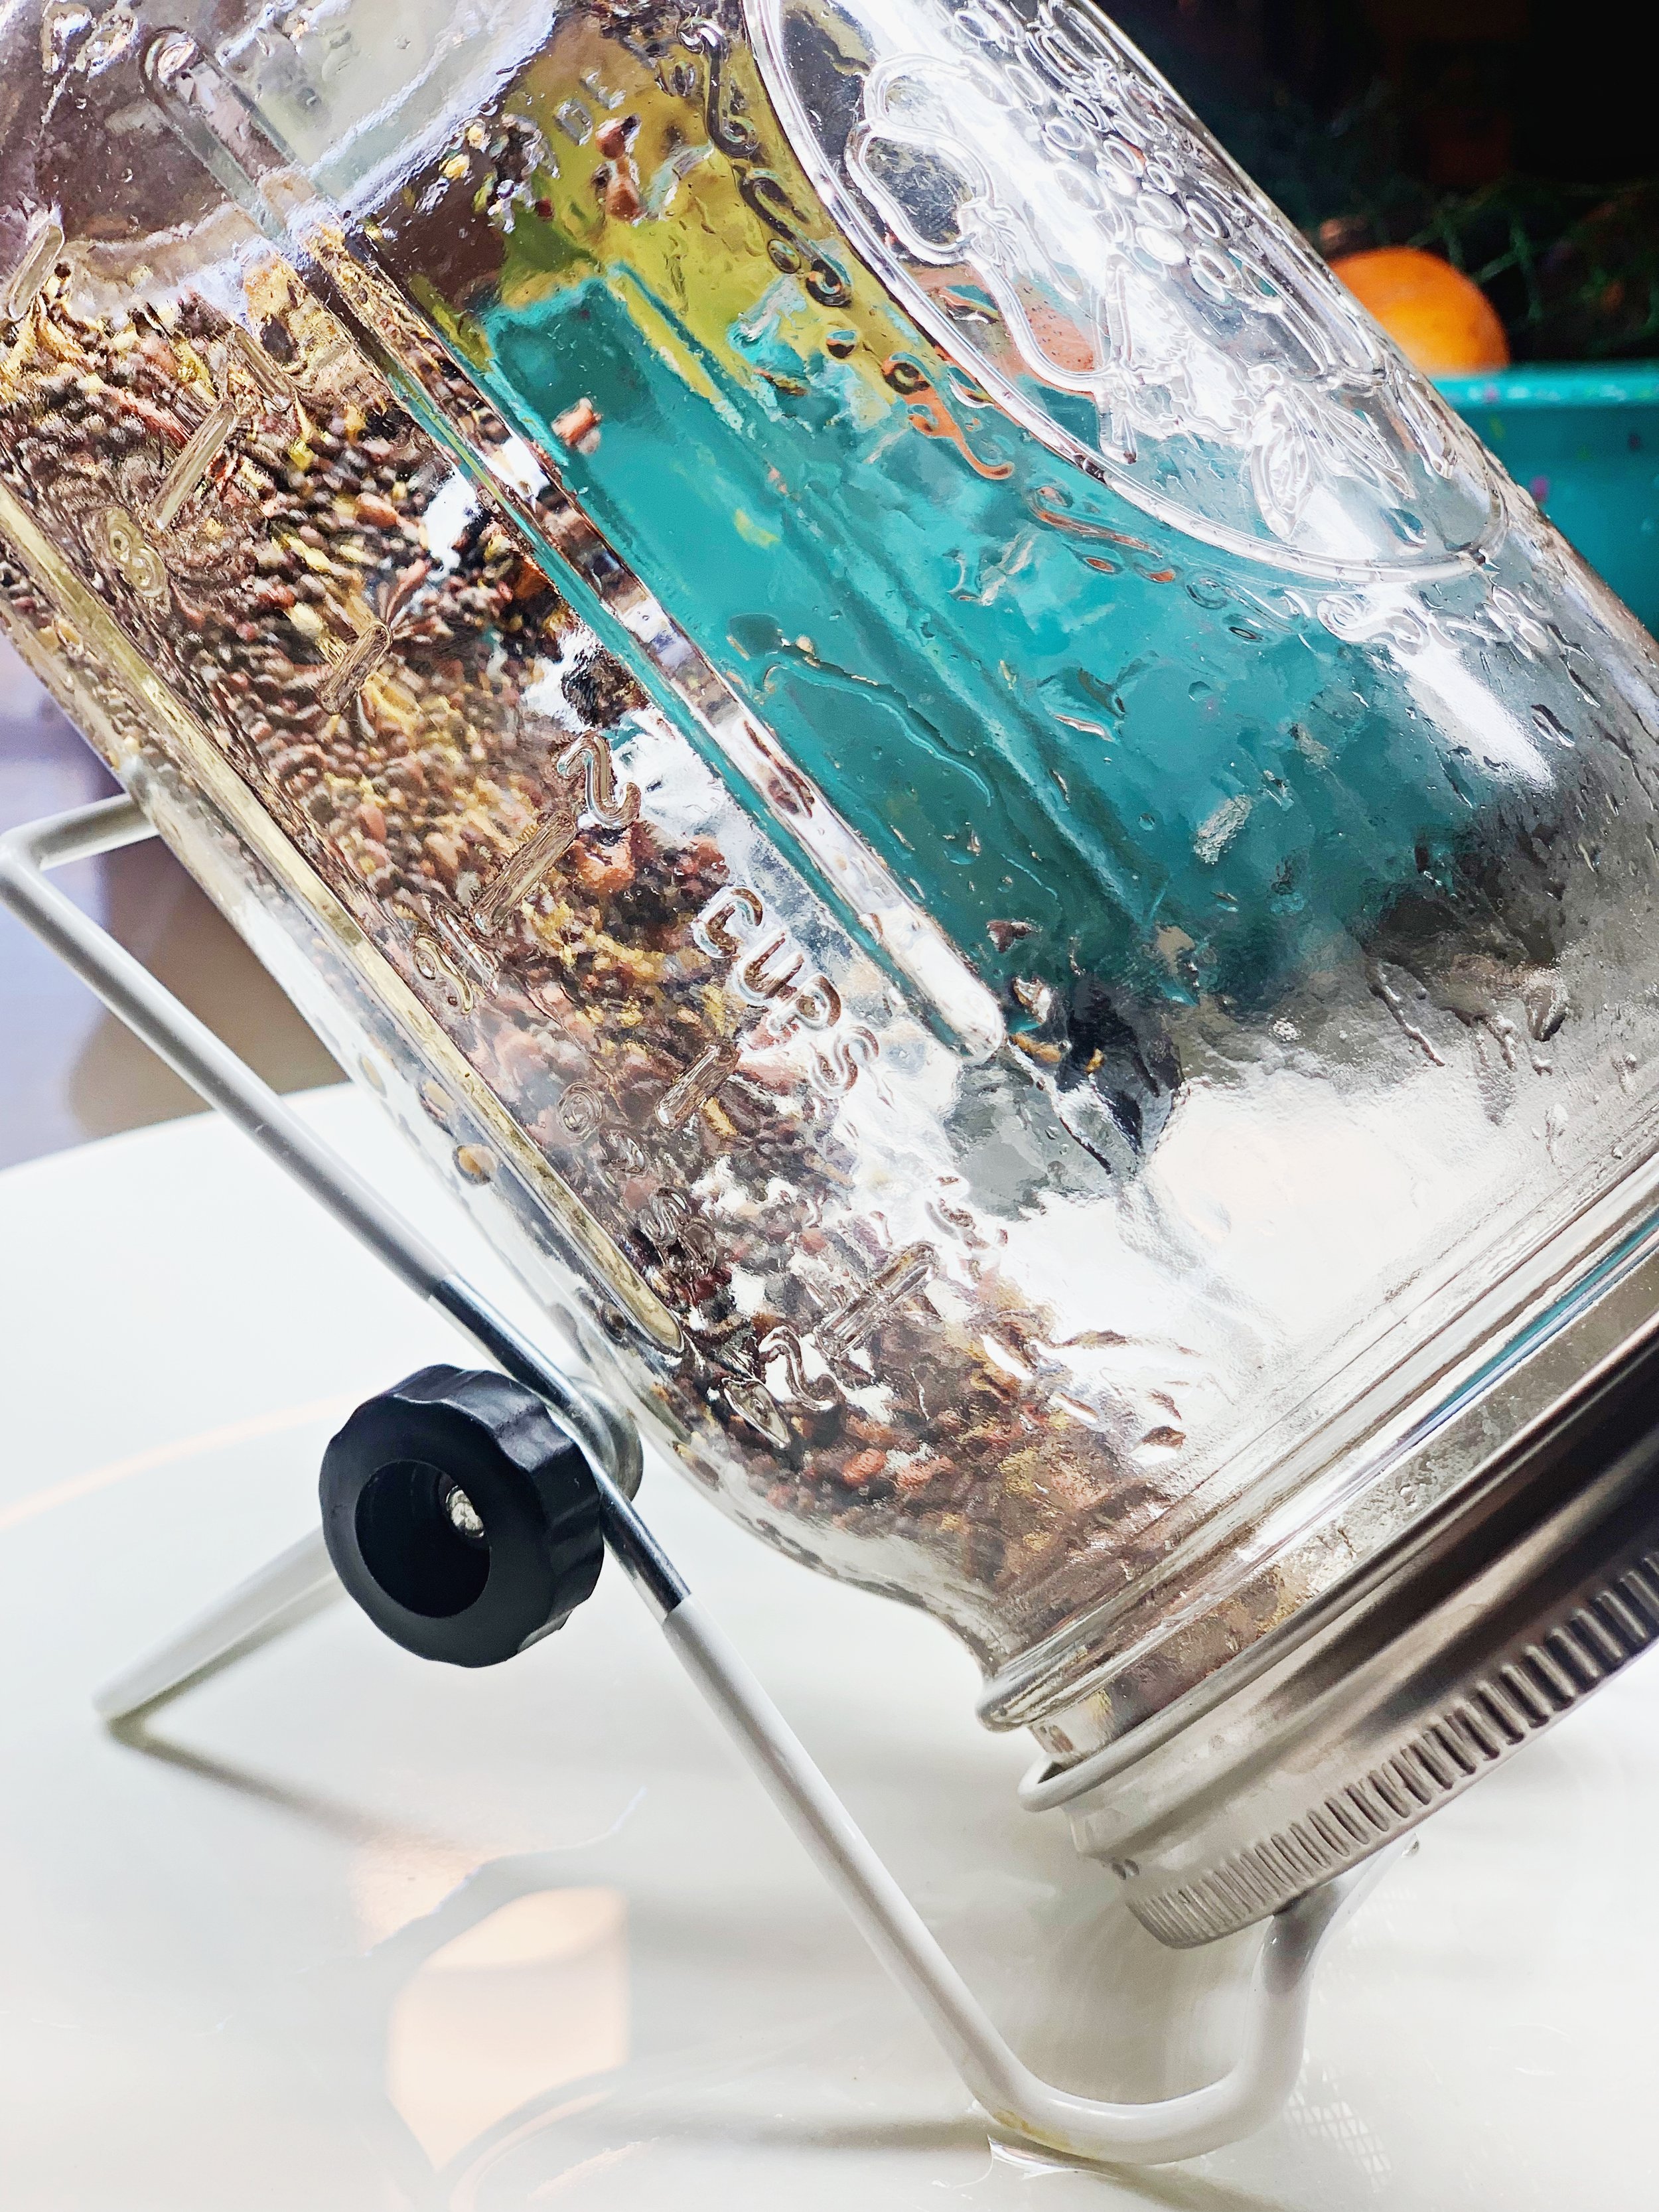
Step 4: After soaking, rinse and drain the seeds by turning the jar over and setting it on a drying rack, jar stand, or similar item at an approximate angle of 45°. This angle allows the water to drain while maintaining good moisture and airflow.
Step 5: Repeat Step 4 twice daily for approximately 5-7 days.
Step 6: Start enjoying your sprouts!
How to store sprouts to last longer
You can enjoy your sprouts fresh from the jar for a few days as long as you keep rinsing them, but if you want to enjoy your sprouts for longer, you’ll have to store them in the refrigerator, where they can last up to 5 days.
When getting ready to store sprouts in the fridge, rinse them one last time and let them drain completely. You don’t want to store wet sprouts. You can even put them in a tea towel and then a salad spinner to draw out moisture. I like to pat the sprouts dry with a towel and store them in an air-tight container along with a paper towel for moisture control.
Finally, make sure sprouts are loose for good airflow. Enjoy them at your own pace, but make sure to discard and compost them at any sign of them going bad!
How to enjoy your sprouts
If you’re new to eating sprouts, you might think that they’re only good as a garnish on sandwiches or avocado toast. However, as a “micro vegetable” they’re actually extremely versatile!
Enjoy fresh sprouts of any kind on toast, sandwiches, and burgers. Add them to stir-fries, soups, and stews. Grind and add them to baked goods. Make hummus out of sprouted beans. Or simply eat them raw, handfuls at a time.
Have you tried sprouting? What’s your favorite way to enjoy fresh sprouts? Tell us about your experience below!


