The Simple Yet Complete Guide To Making Plant-Based Milks
Many websites and blogs will have you believing that you need to check a recipe guide every time you want to make a batch of plant-based milk. What they won’t tell you is that once you’ve learned the basic principles, you don’t need a recipe to make your own plant milk consistently.
Sure, the first time you make anything, it’s good to follow a guide. But there’s no need to rely on time-consuming step-by-step instructions (with seemingly endless preambles of “when my grandmother used to make this…”) every subsequent time you want to make something.
Plant-based milk is incredibly easy to make time and time again. All you need is a basic recipe that applies to the majority of nuts and seeds from which you can make the milk, and voilá! With a little creativity, you can make a delicious, dairy-free milk from just about any nut or seed.
Why make your own plant milk?
I won’t waste your time here by giving you tons of background about plant-based milk. If you’re looking to learn more about it or its potential health benefits, you can click here.
Plant-based milk is incredibly healthy and delicious. Even if you consume dairy, there’s no reason you can’t also enjoy plant milks, especially because there are so many different kinds to try with different flavors, nutrients, and more!
Unfortunately, plant milks can run pricey compared to its dairy alternatives. Fun fact: this is largely because the government has been bailing out the dairy industry for decades through immense subsidies and buying out excess milk which it then stores as cheese. Does this remind anyone of the 2008 bank bailouts?
Luckily, you don’t need a large amount of nuts, seeds, or grains to make a large batch of plant milk, so making your own can actually be less expensive than buying from the store. By making your own fresh at home, you’re also cutting out a huge amount of waste from all of the milk cartons and plastic bottles. Find a nice glass bottle, or even just some simple jars, and you never have to worry about throwing a milk jug out again!
Finally, making your own plant milks is great because it gives you a chance to experiment with many different ingredients and flavors. You get to control exactly what’s going inside, which means more confidence about what you’re putting into your body, and more health benefits (because there’s none of those added sugars and “stabilizing” chemicals—whatever those might be).
So let’s just get right down to it!
The basics: what you’ll need
Not only is plant milk quick and easy to make (sometimes as little as 5 minutes!), you don’t need a lot, and chances are you’ll already have nearly everything you need at home.
The equipment
There’s a few different ways to make plant milks. You can even buy products designed specifically for this purpose. But before you invest in expensive equipment that you may not even need or want, I suggest using what you probably already have on hand.
A blender
Cheesecloth or a fine mesh strainer
The ingredients
One part nut, grain, or seed of choice (we’ll get into this more below)
Four parts water
The optional stuff
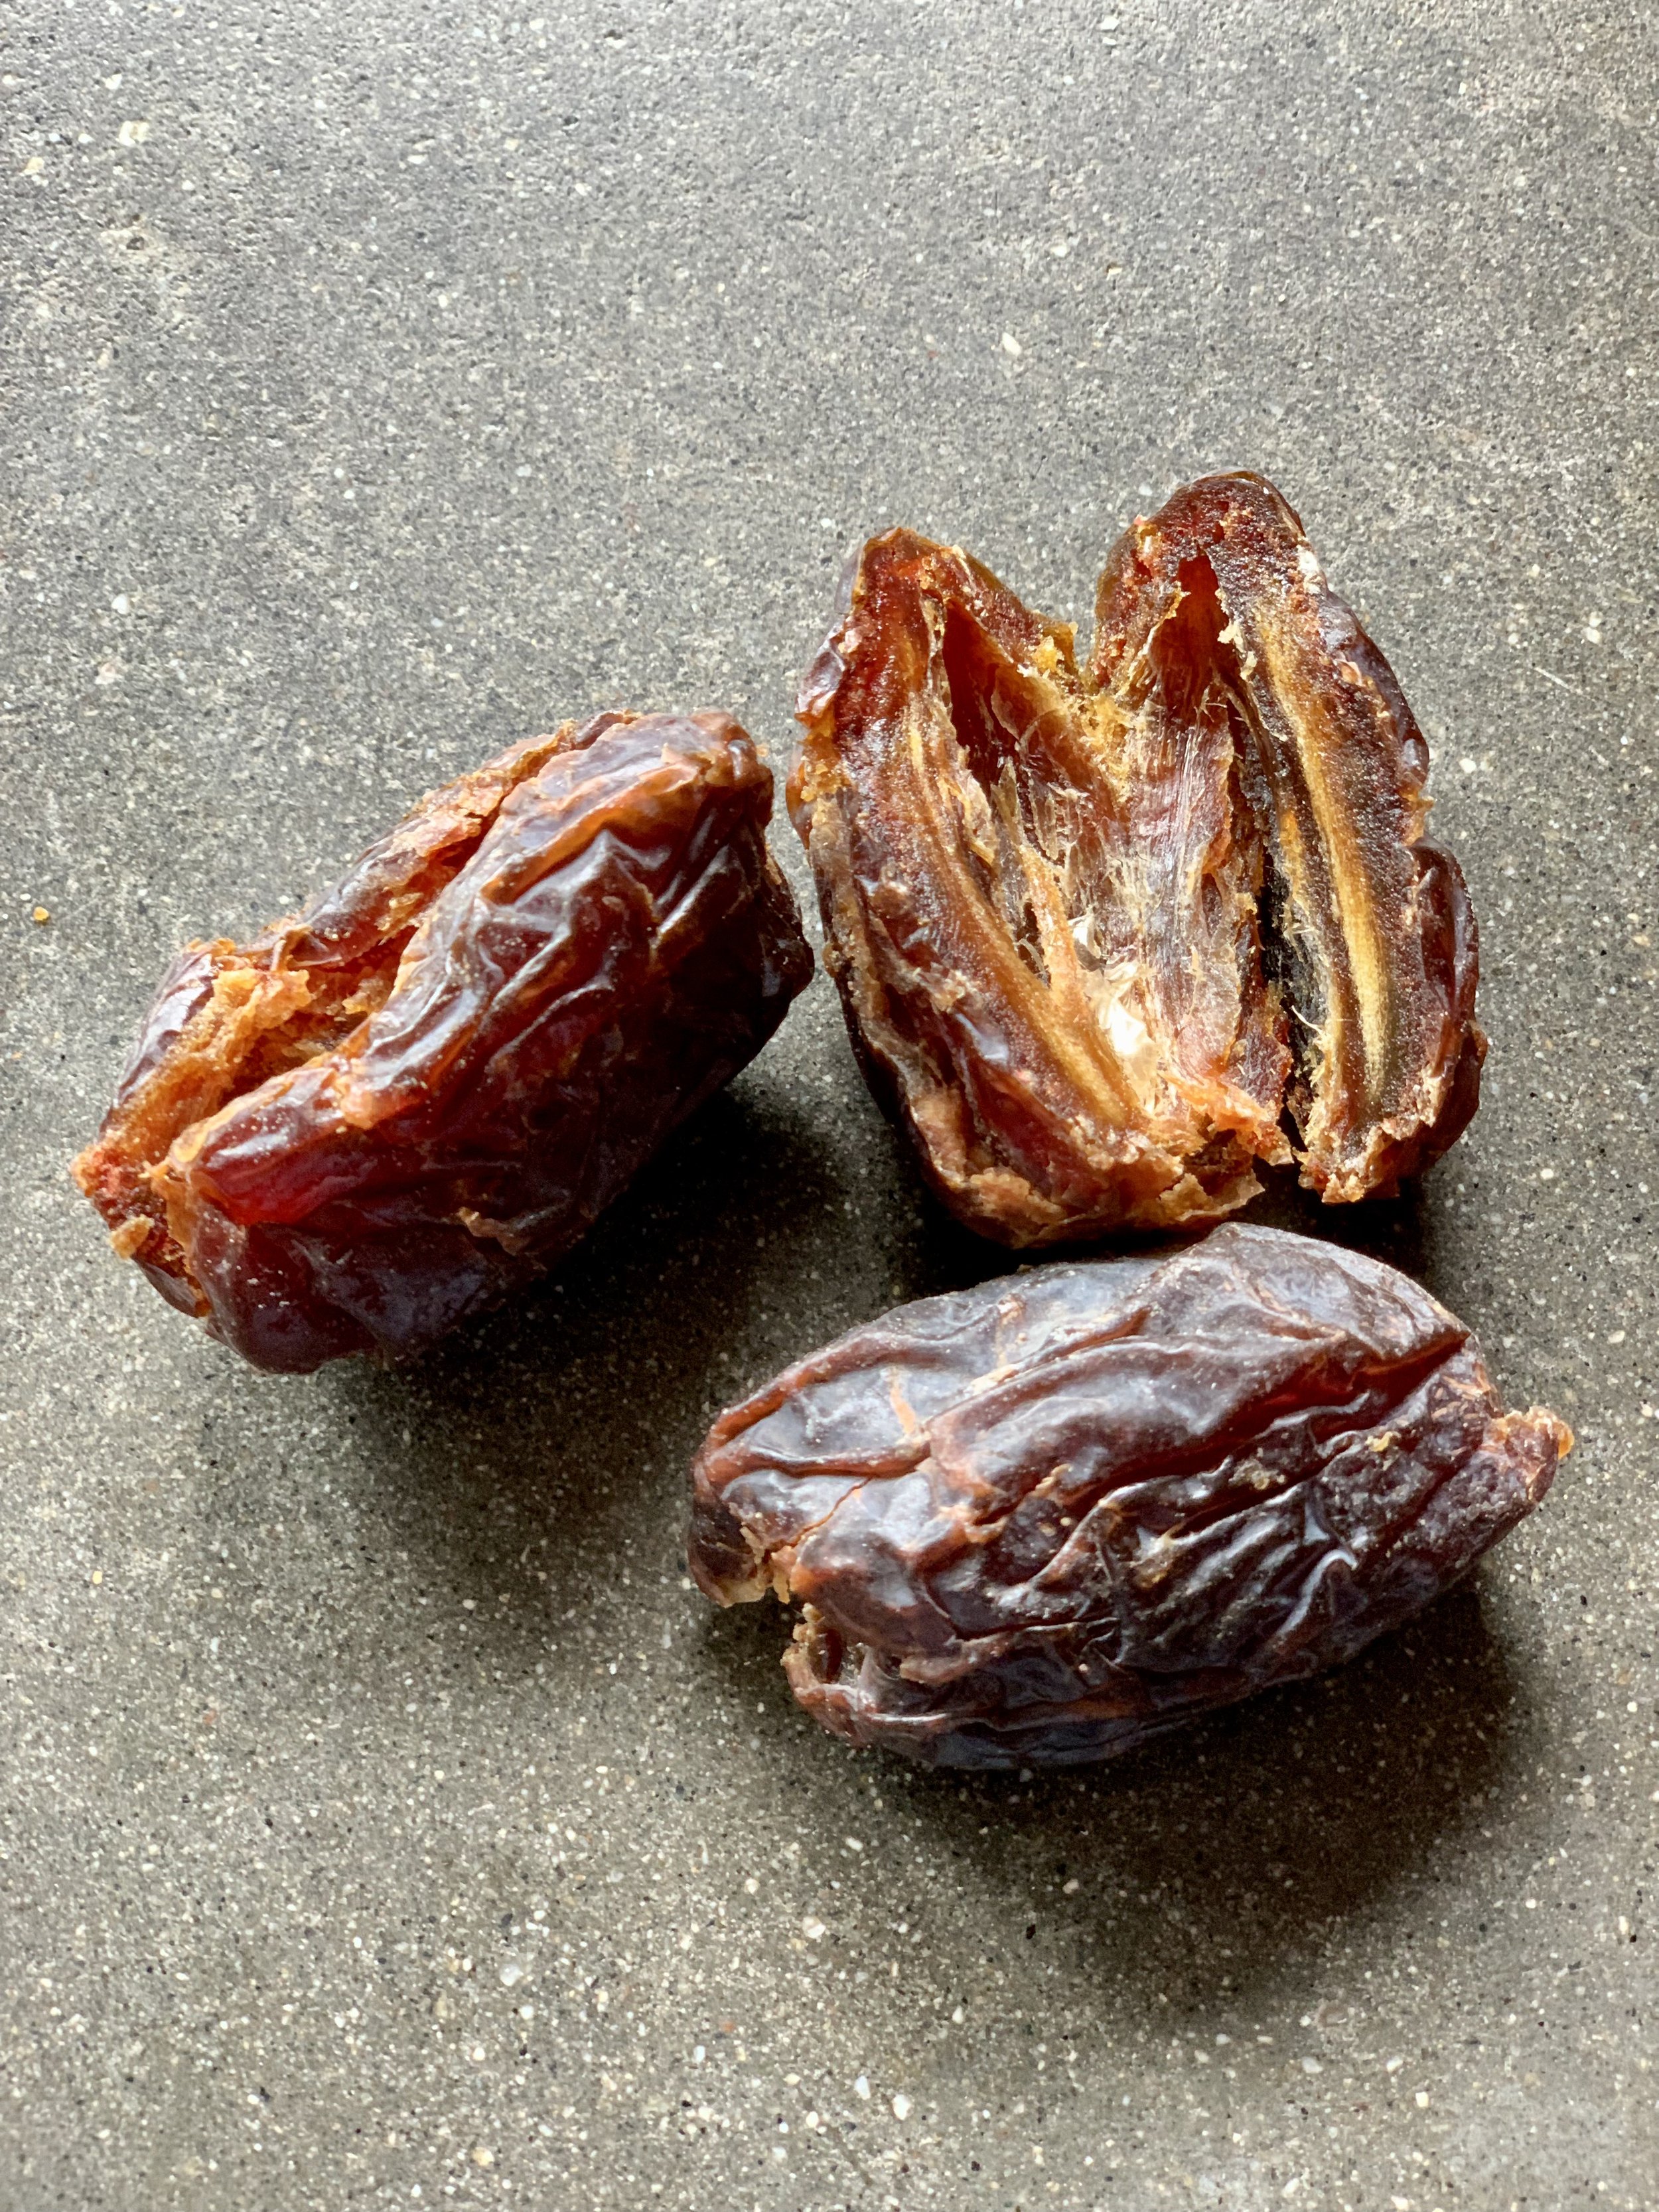
Sweetener (such as: a couple dates)
Vanilla extract
Other flavors such as: cinnamon, cocoa powder, etc.
The basics: how to milk this stuff
As you can already see, there’s not a whole lot to making milk from seeds and nuts. The cool thing is, although most stores only carry a handful of plant-based milks (usually soy, almond, oat, and maybe a few others if you’re lucky), you can make dozens (yes, dozens!) of different kinds of milks at home once you know the basics.
Which nuts or seeds should you use?
Which kind of plant milk you’ll make is entirely up to you and your preference in terms of texture and flavor. Although you may already have an idea of your preferences based on store-bought plant milks, you’ll have to experiment a bit in the kitchen to find exactly what you like.
Personally, I prefer homemade cashew milk over almond milk because it requires less work to make (takes me about 5 minutes in total), but sometimes it’s worth it to make almond milk instead if you’re looking for that unique and delicious flavor. Additionally, oat milk, when made right, is refreshing and versatile. Hemp, pistachio, and rice milk are also fun alternatives to try out.
Although there are many nuts and seeds from which to make milk, here are my top 13:
Almond
Cashew
Pistachio
Macadamia
Hazelnut
Oat
Soy
Coconut
Rice
Hemp
Spelt
Pea
Flax
How to make plant milk in two simple steps
The most common plant milks to make yourself are cashew, oat, almond, and hemp. While this guide will teach you the basics for making any kind of plant milk, you may also wish to consider looking up a guide specific to the kind of nut or seed you’d like to use.
Step 1: Do you need to pre-soak the nuts or seeds?
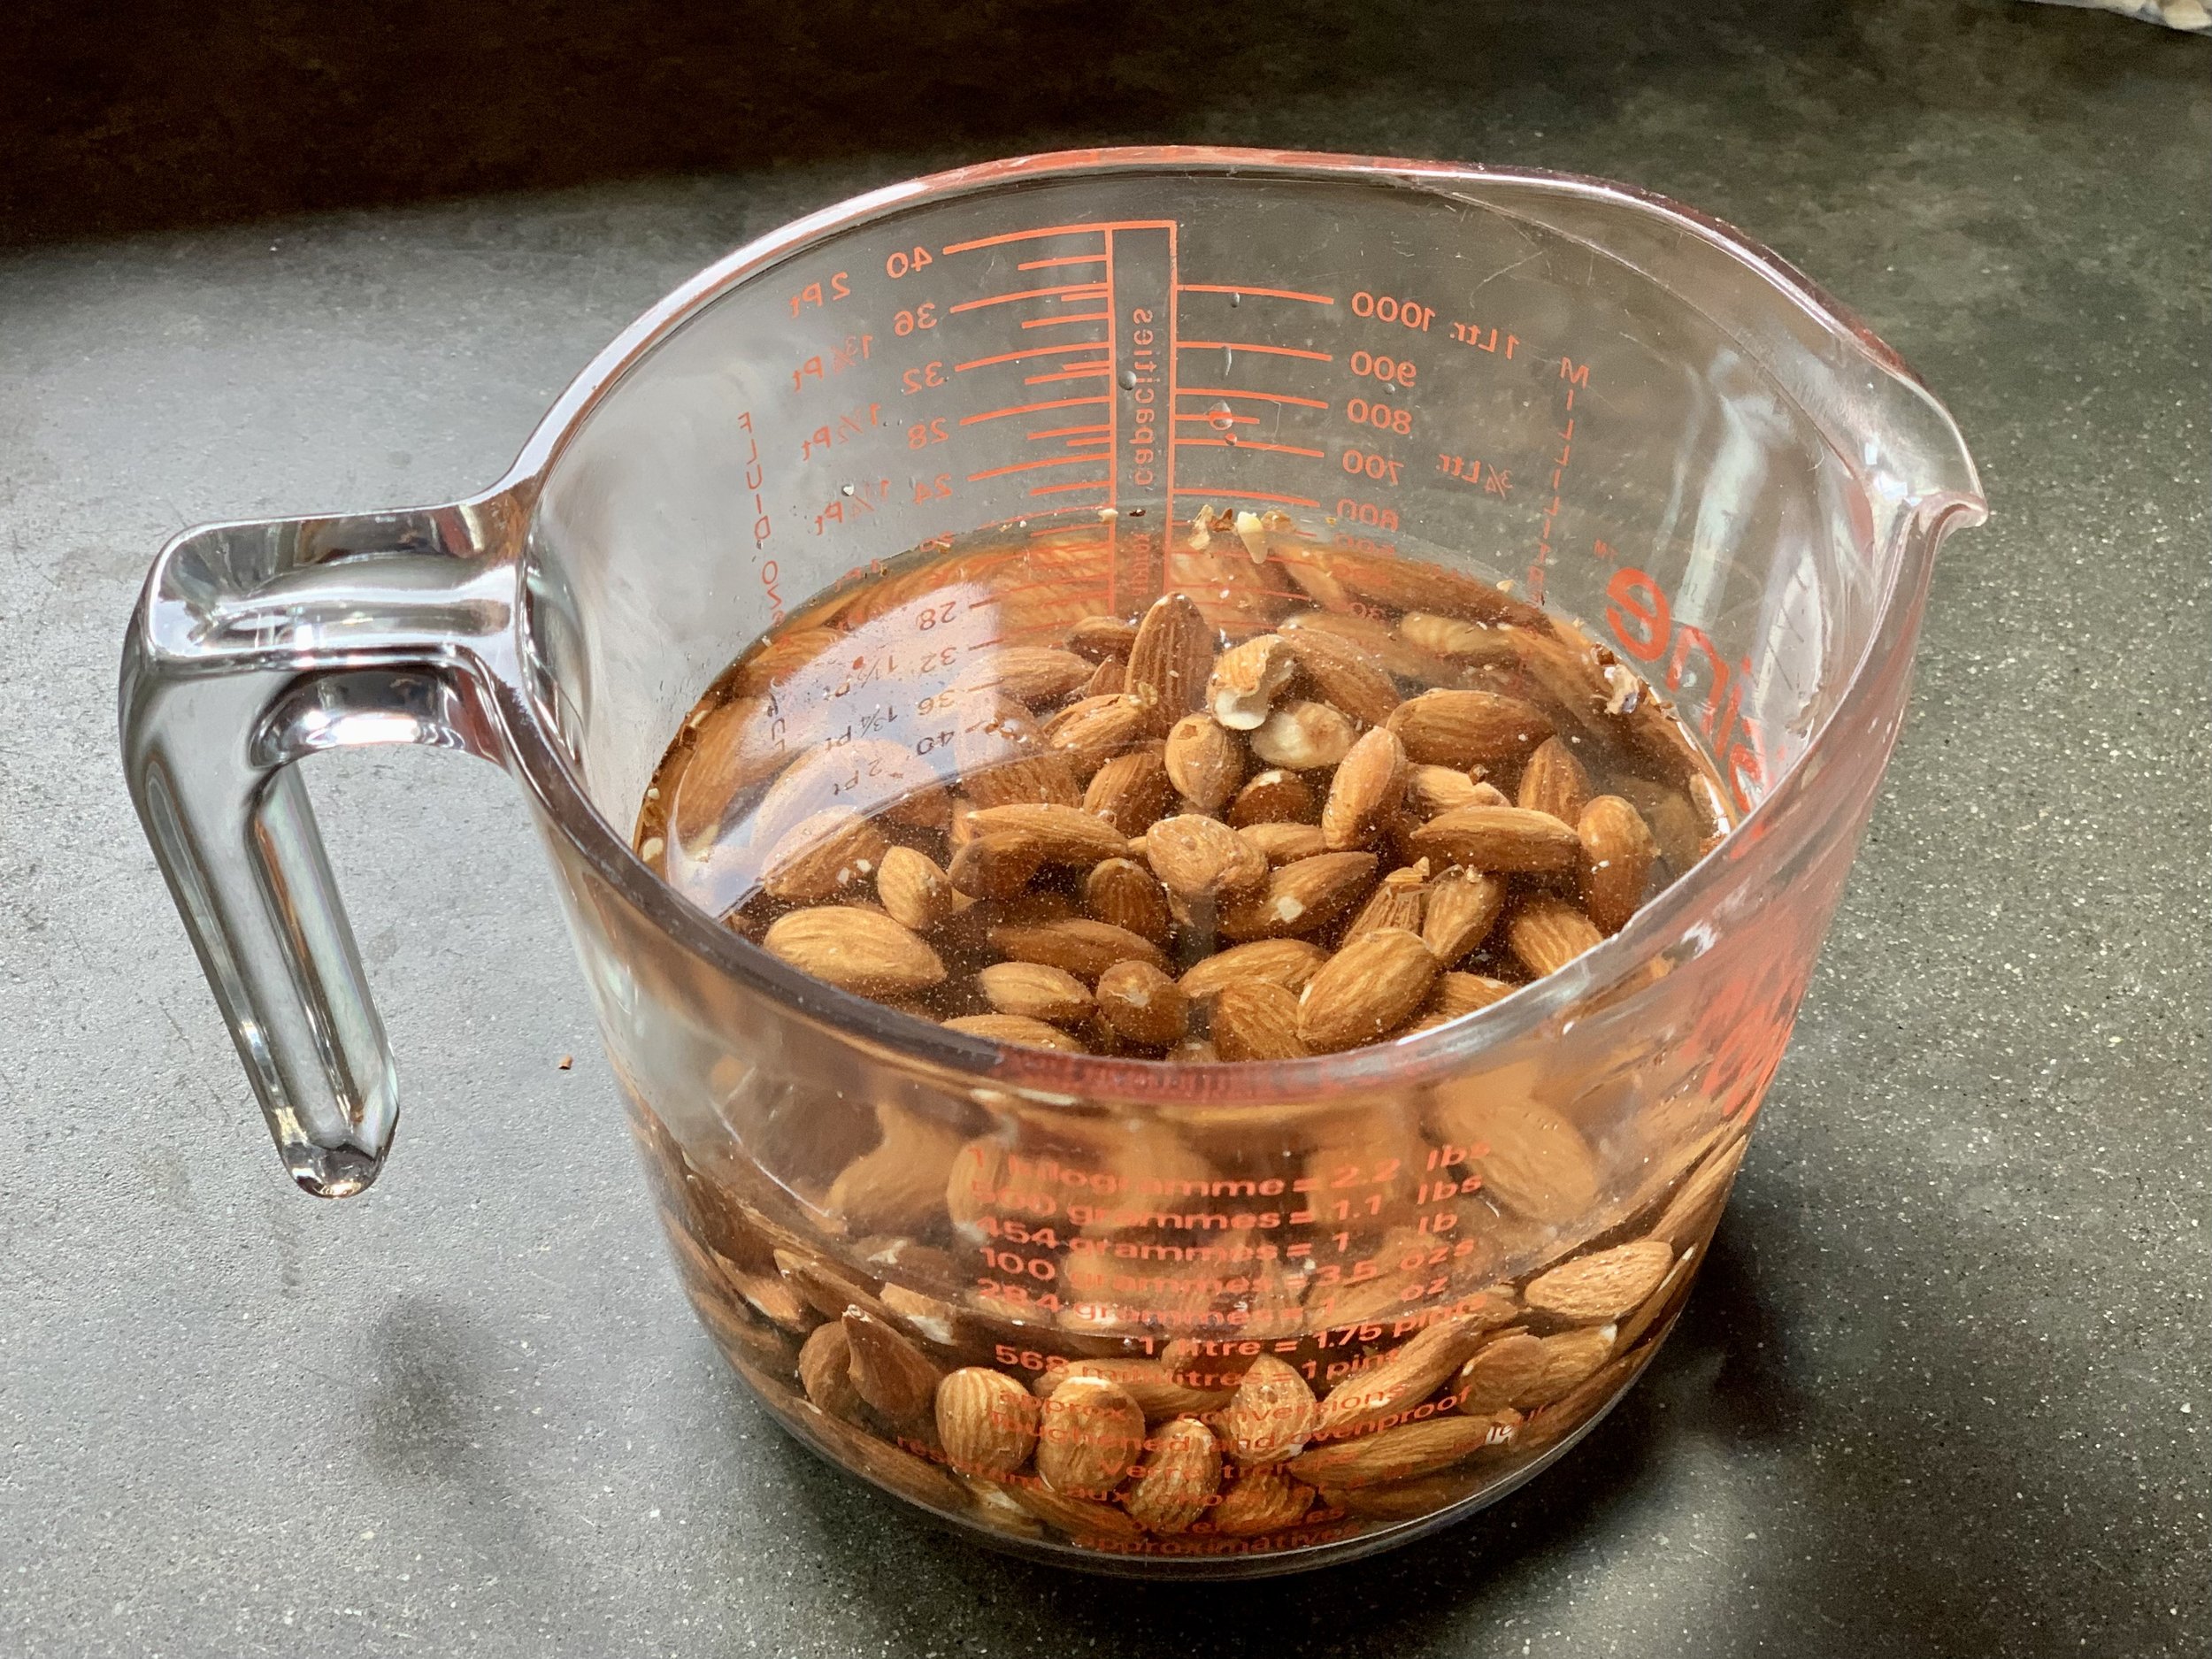
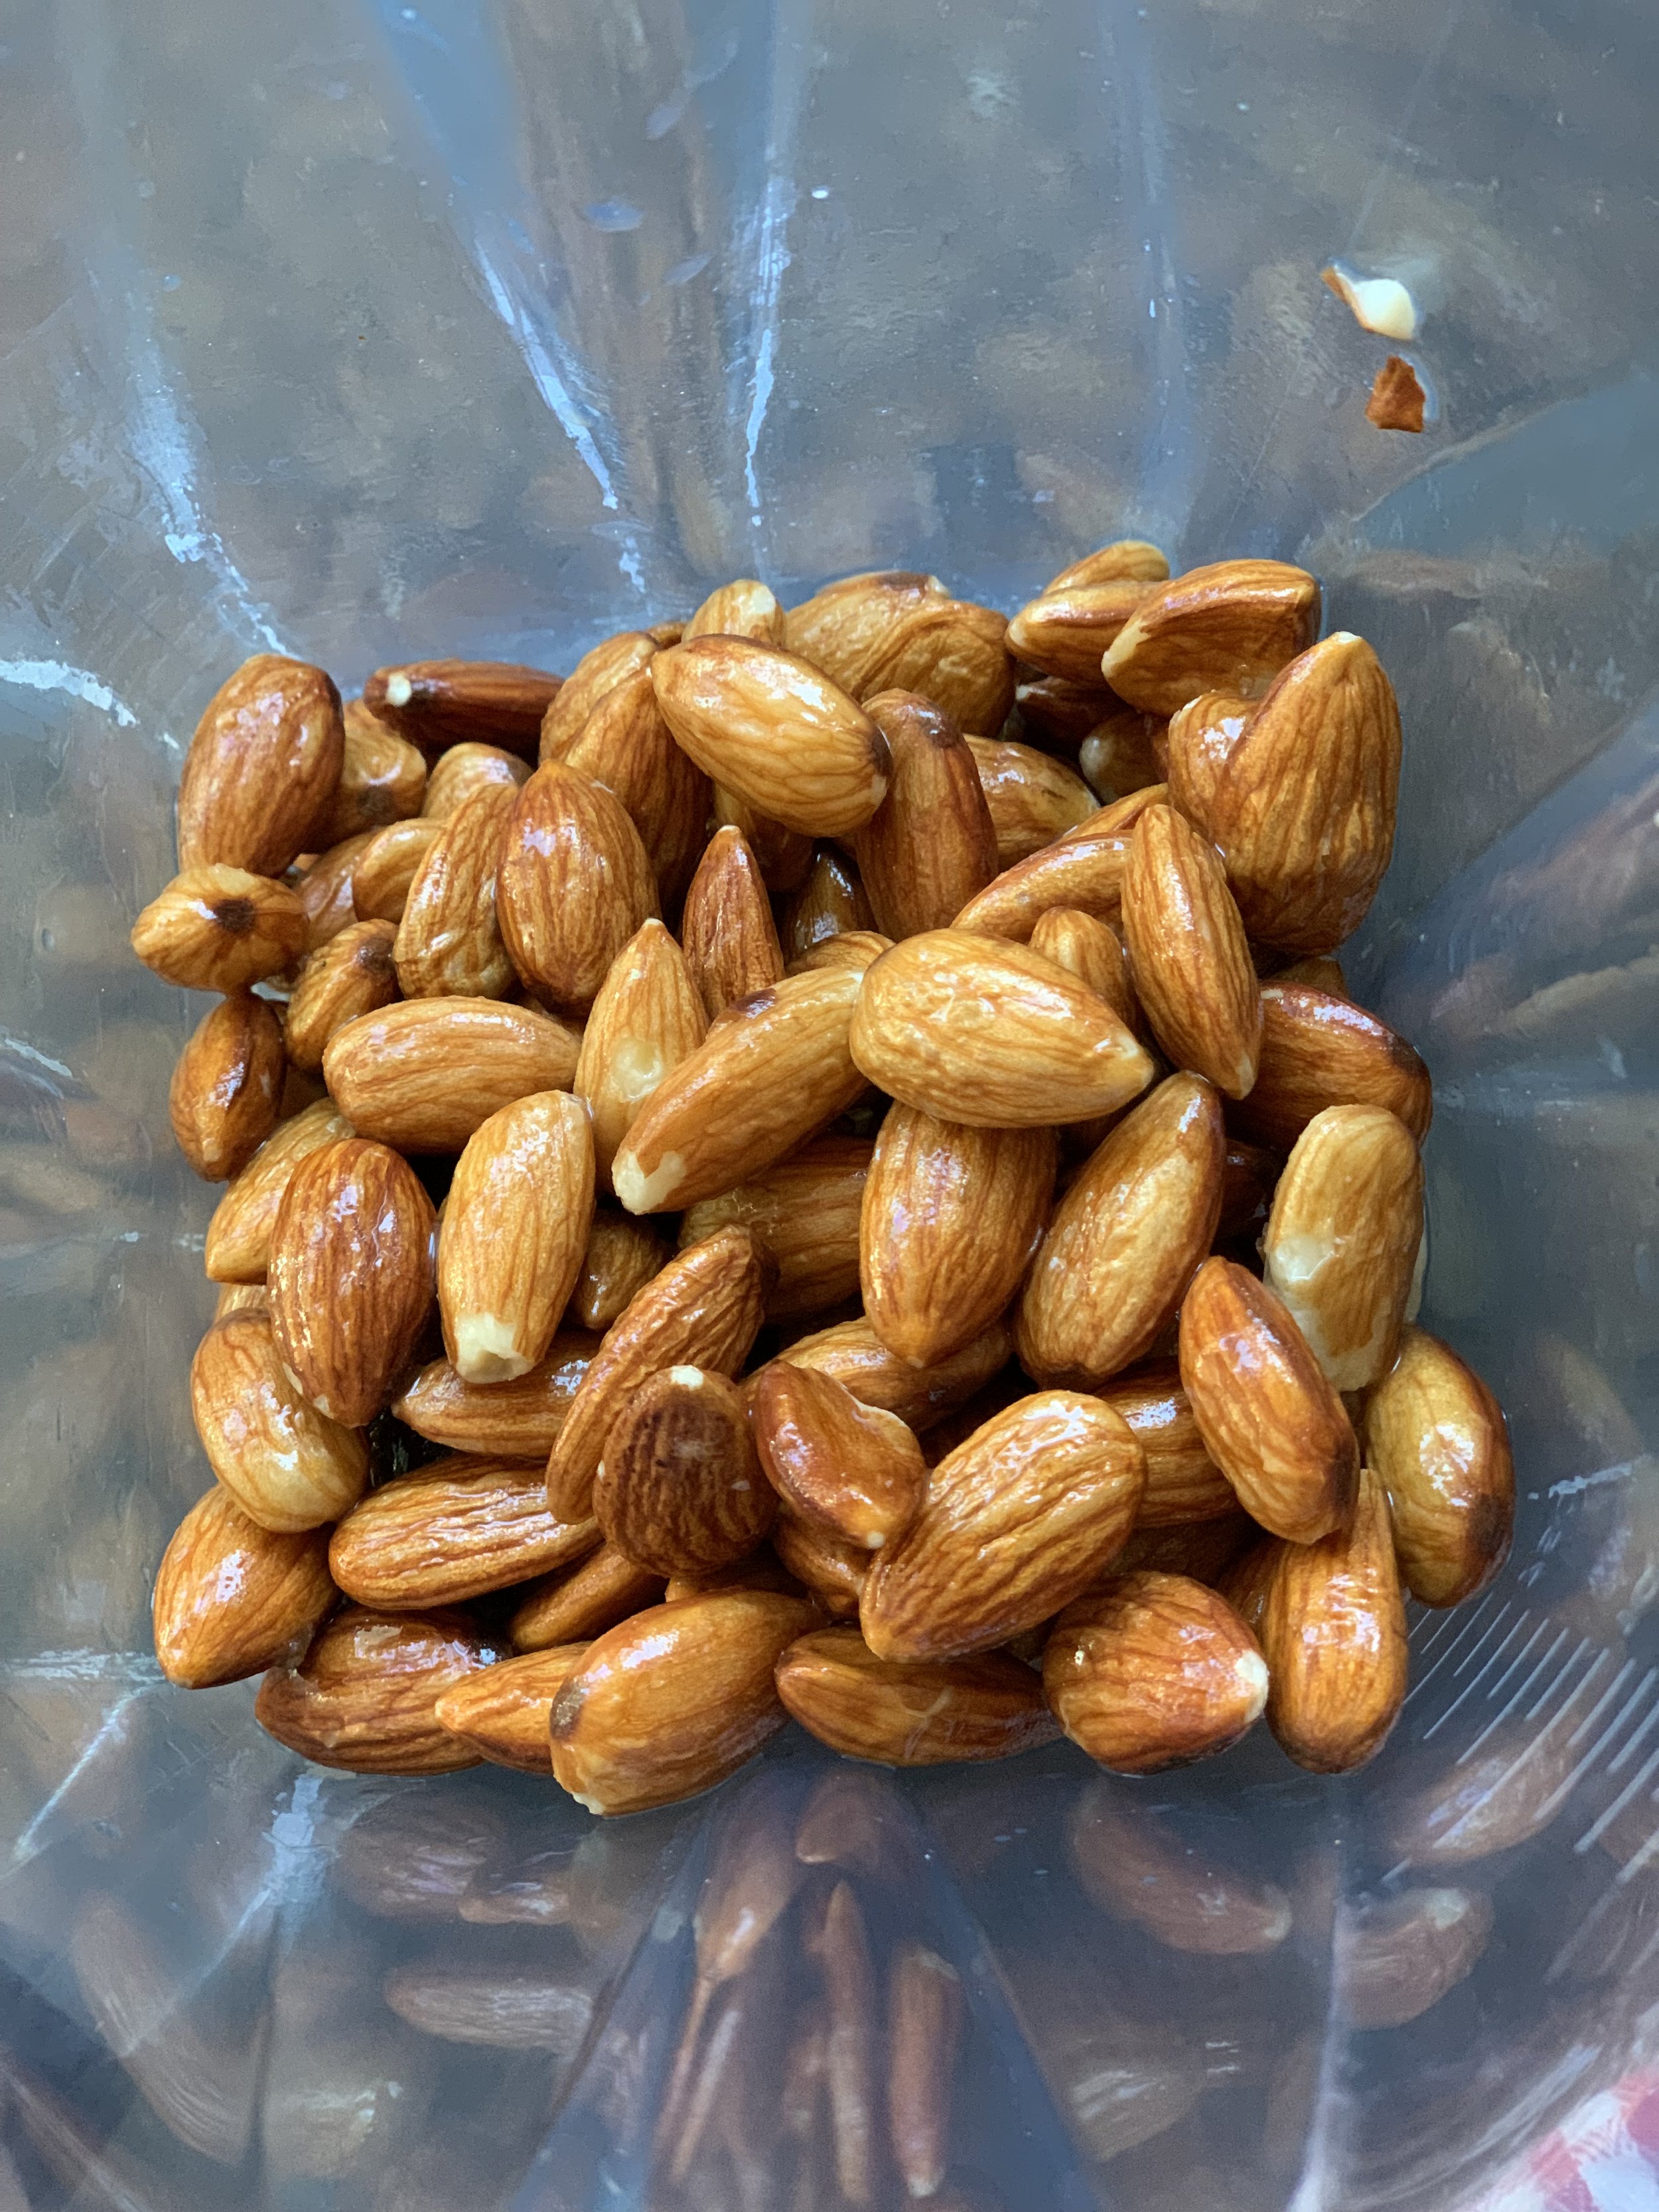
Generally, if it’s a nut, you should do a pre-soak. This is because most nuts are very dry when you buy them, and if you blend them as they are, the resulting milk could be grainy. For the smoothest, creamiest milks it is best to do pre-soak. Although with many seeds you can skip this step, you may choose to pre-soak seeds as well. However, never pre-soak oats!
There are a few ways to do a pre-soak. You can soak the nuts or seeds in cold water, in a glass or container on the counter or in the refrigerator, overnight or as long as 24 hours. For the best results, soak for at least four hours.
If you’re pressed for time, you can shorten the pre-soak period by pouring boiling water over the nuts and letting them soak for at least 30 minutes. The heat will help the nuts absorb and rehydrate quicker.
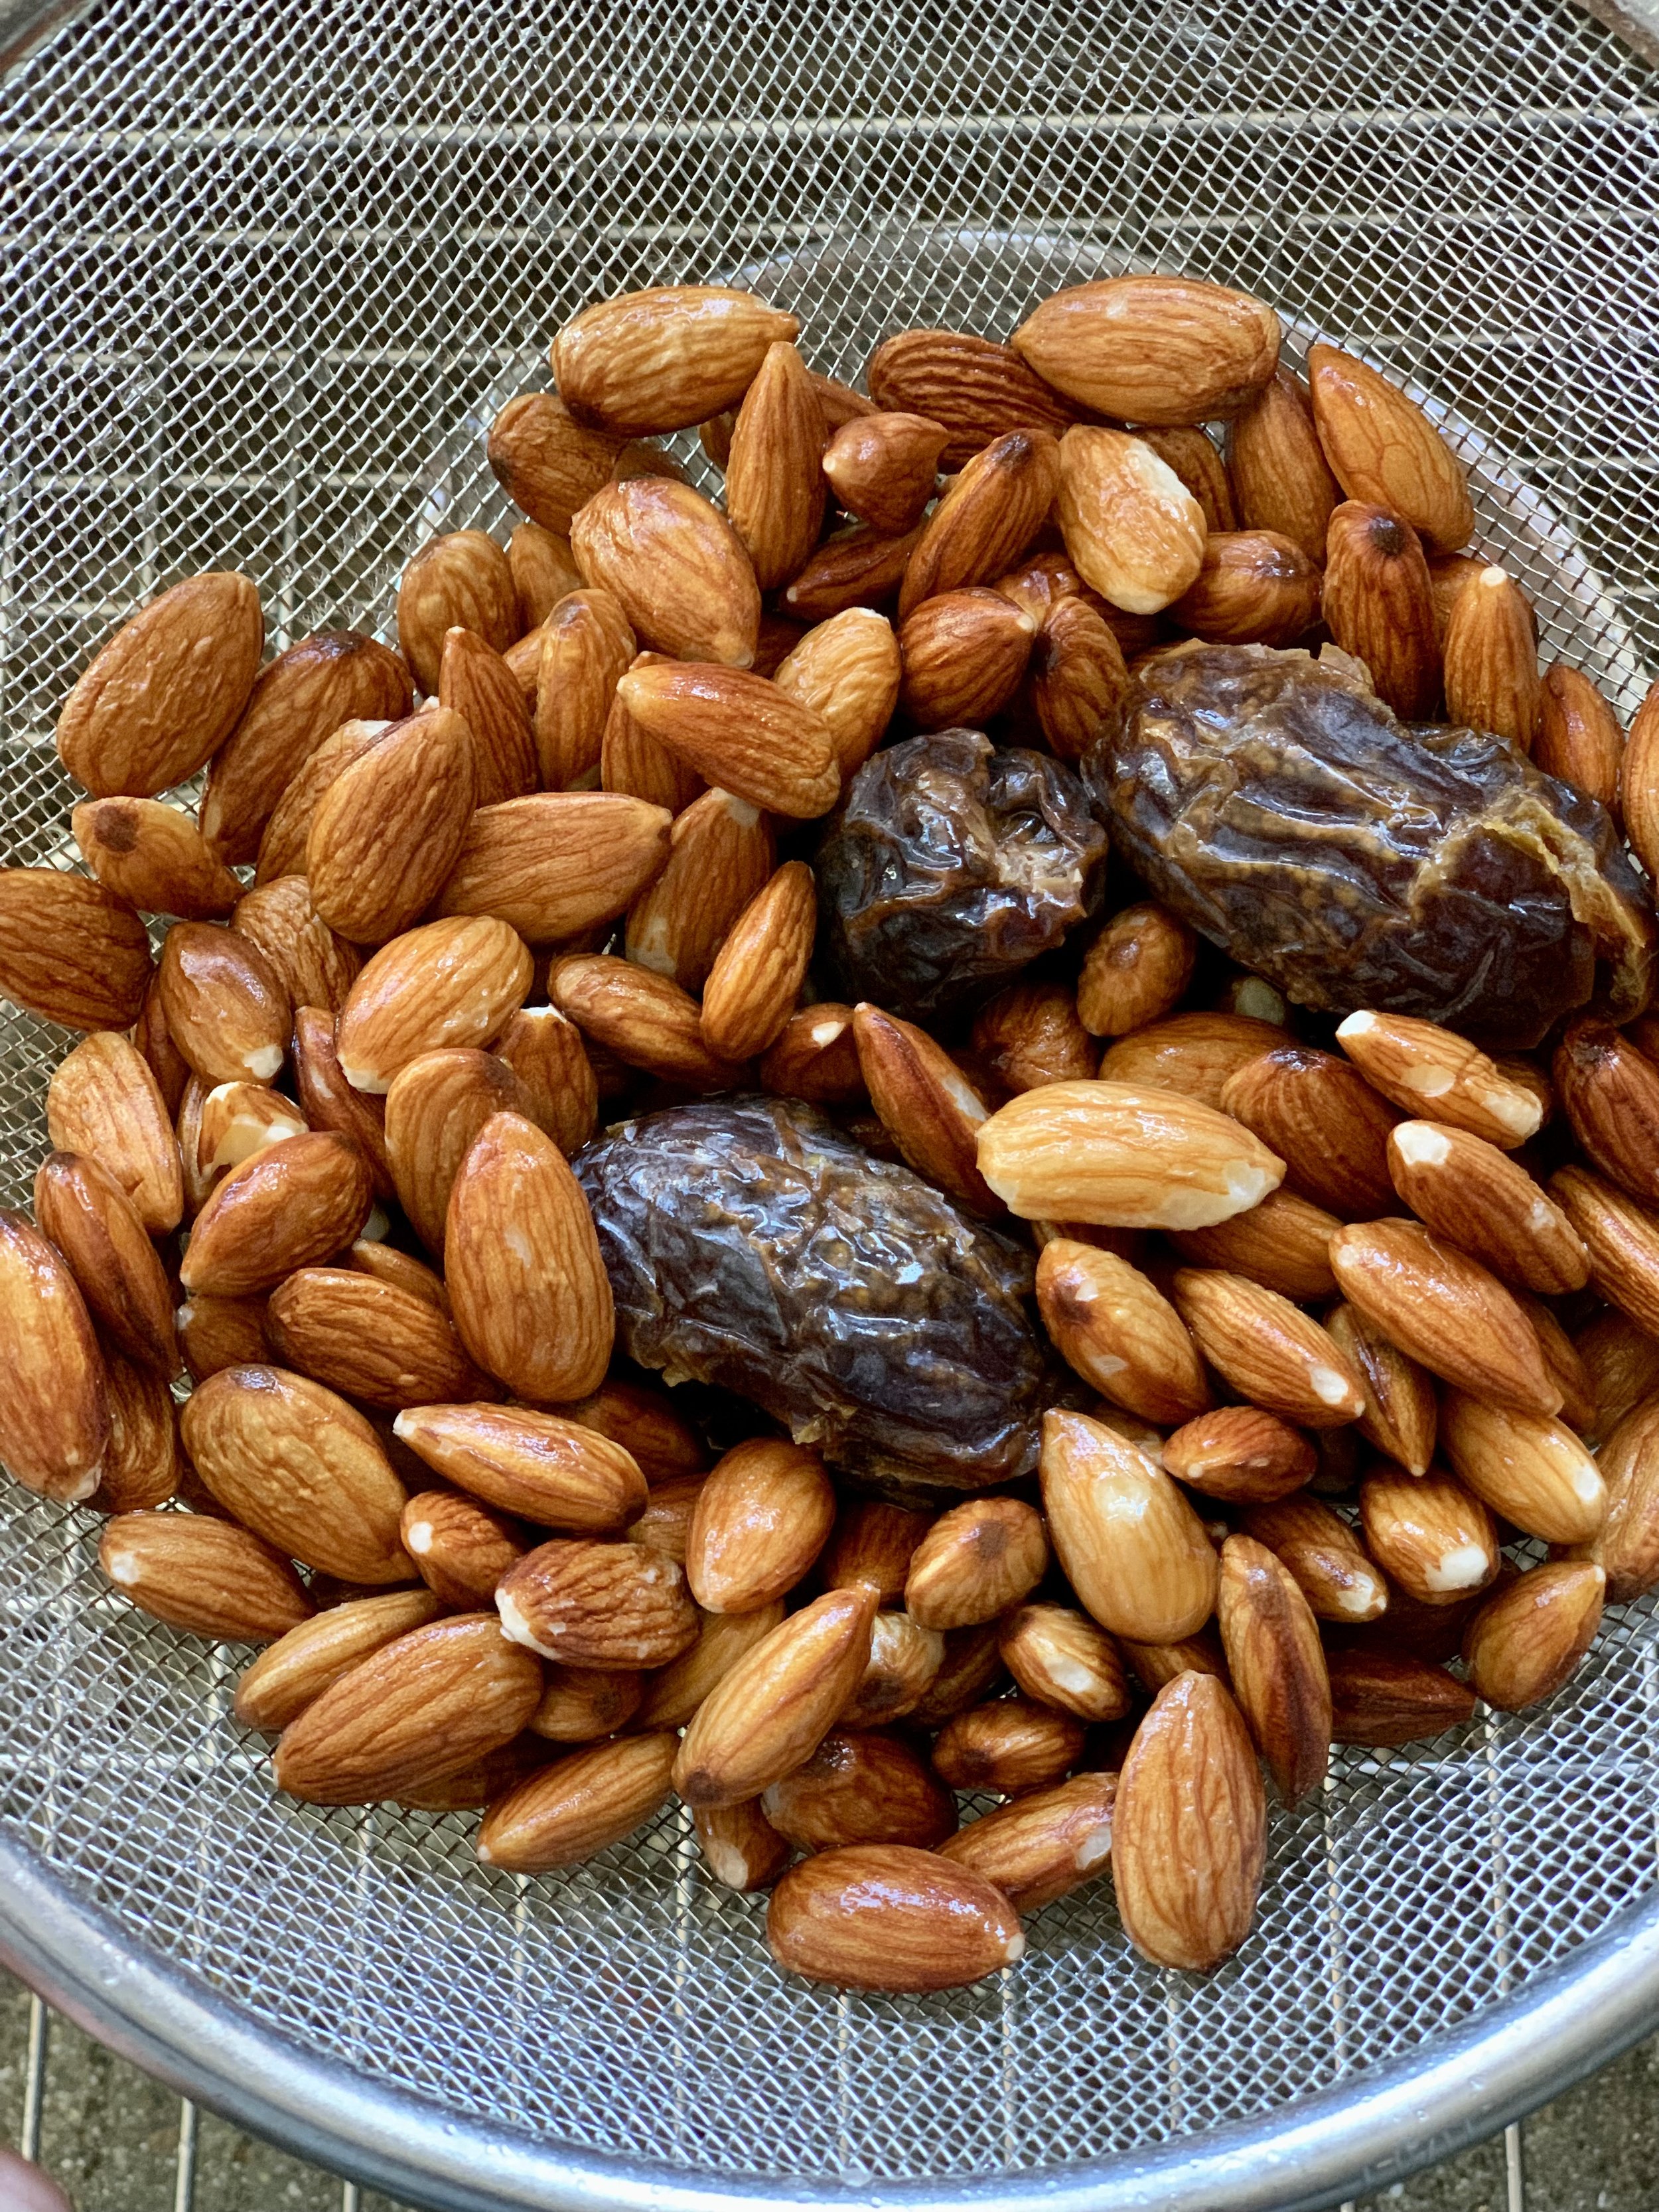
If you’re adding dates as a sweetener, you can pre-soak these as well.
Step 2: Add water, and blend
If the nuts or seeds have been pre-soaked, drain and rinse them. Add them to your blender, add water (see ratio below), sweetener if you choose to, and blend!
The rule of thumb ratio: 1 part nut/seed, 4 parts water.
For creamier results, reduce the water. For more watery results, increase.
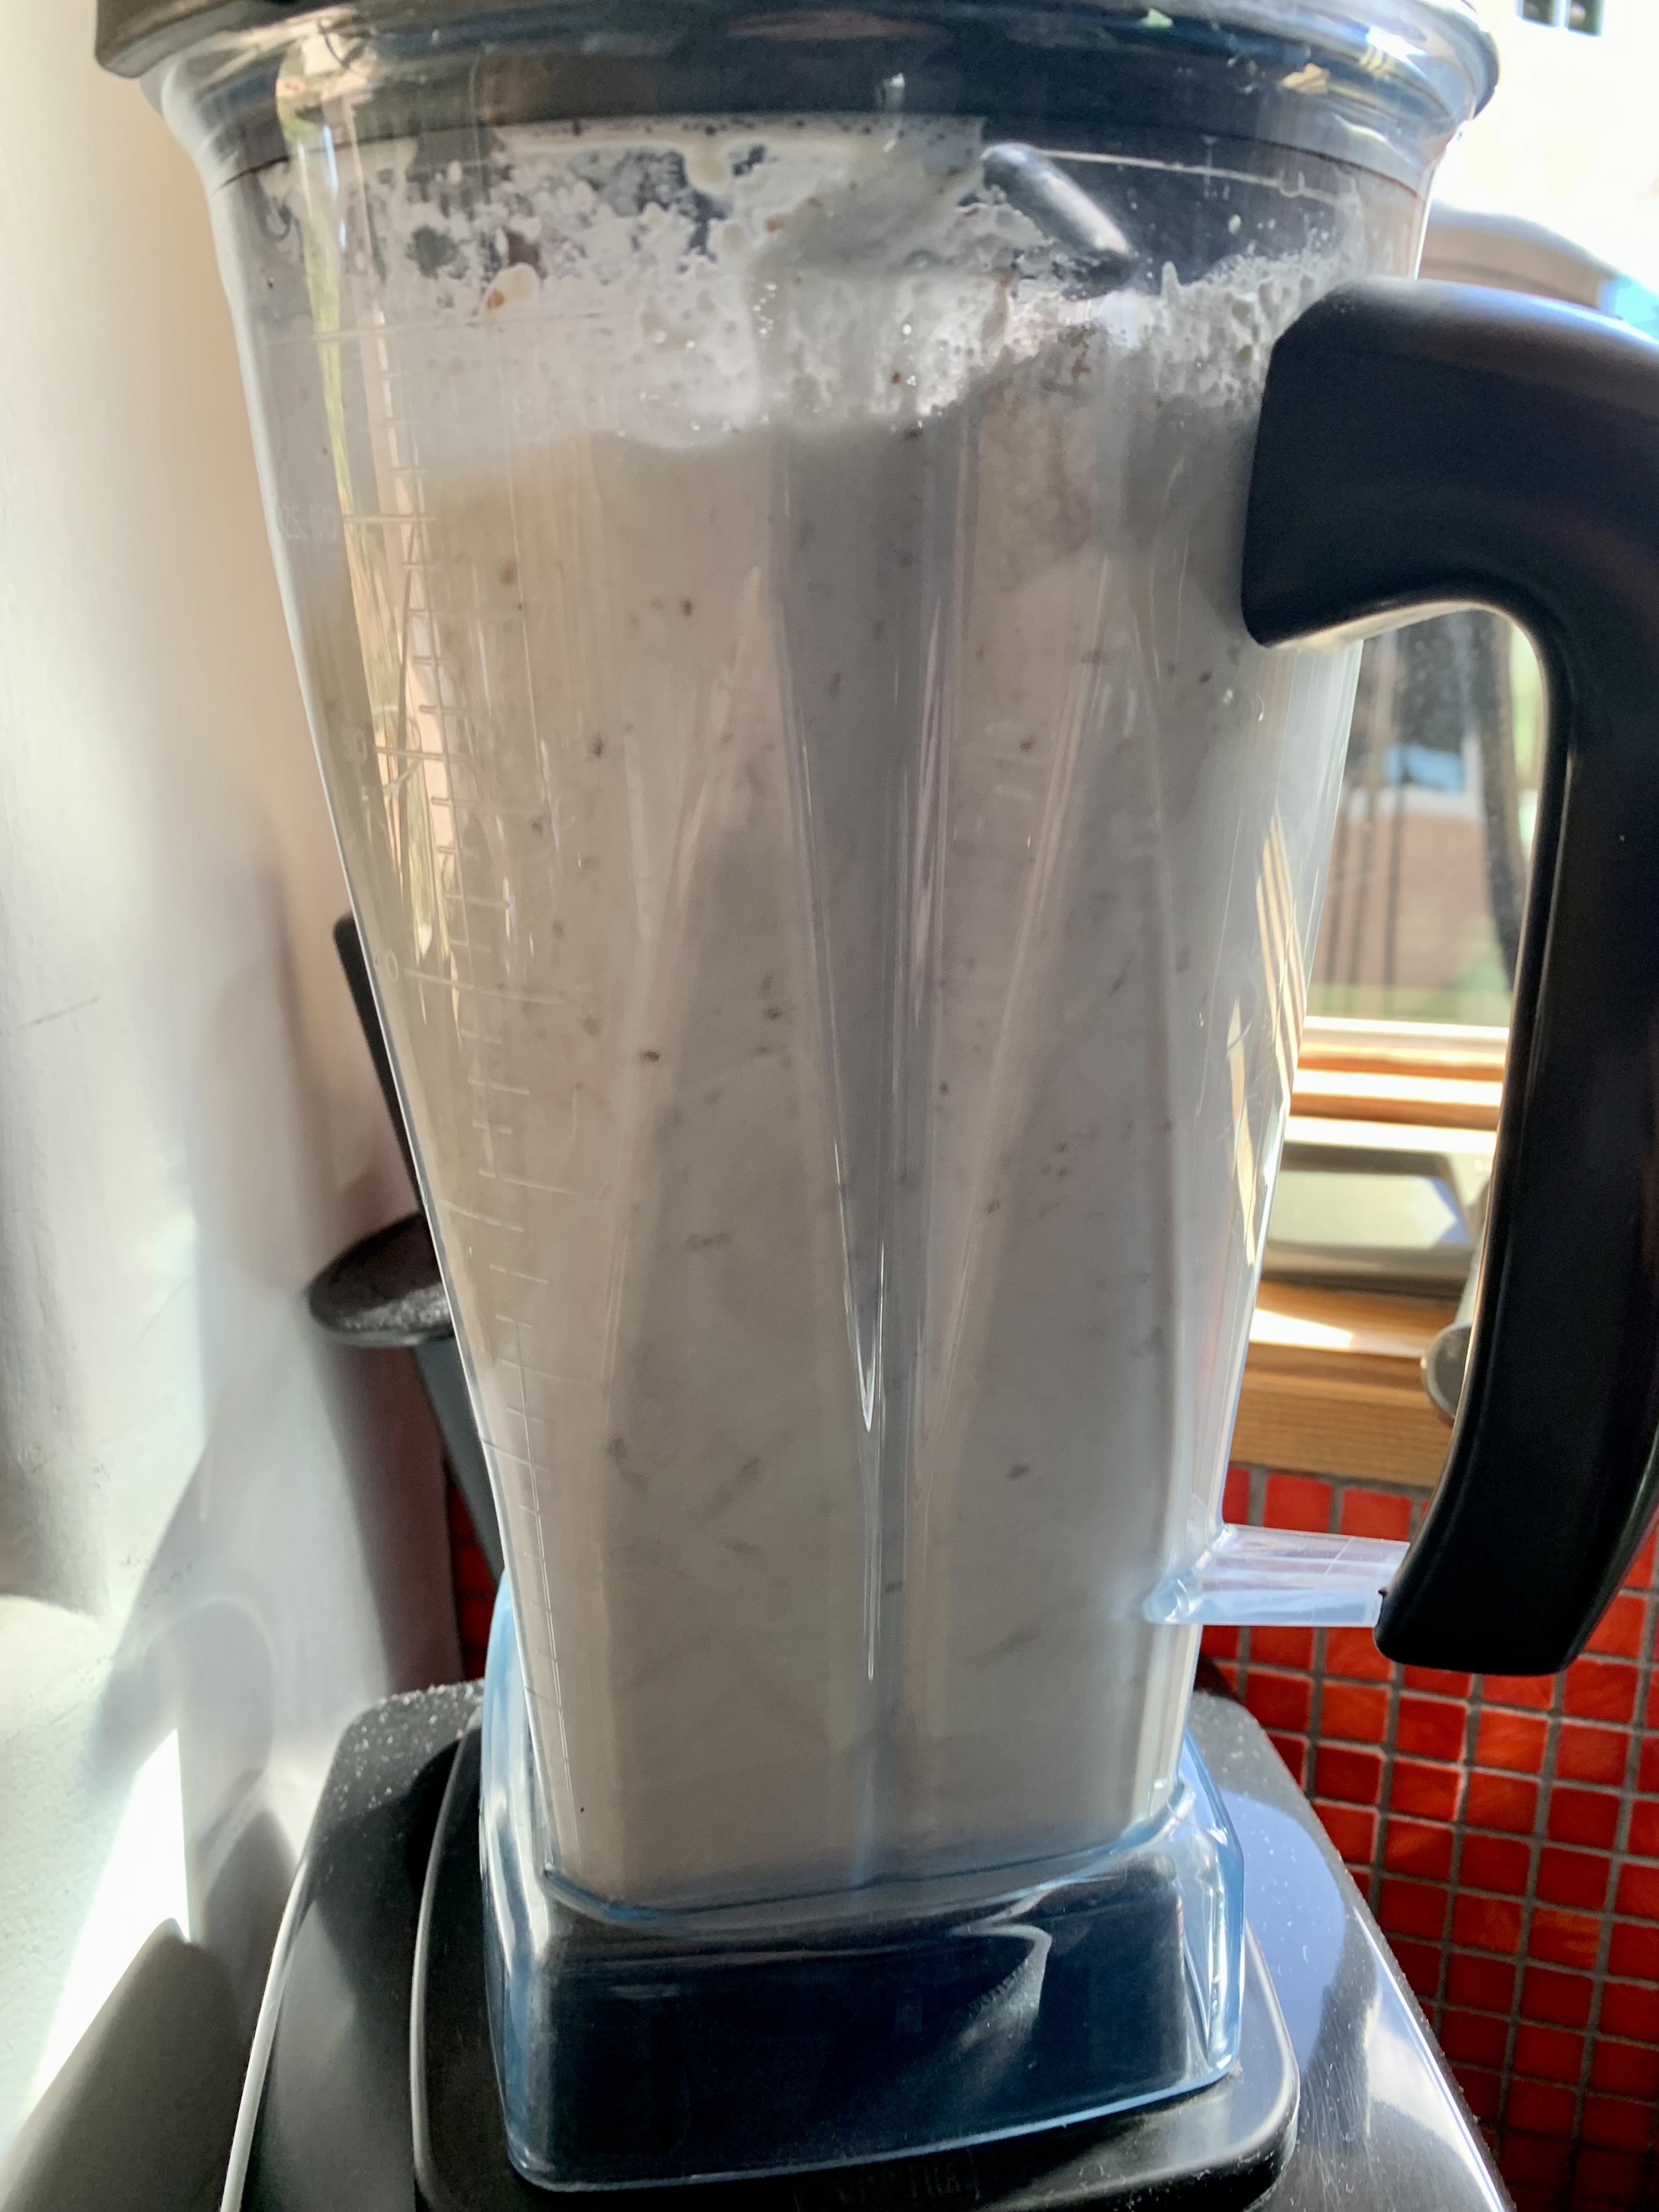
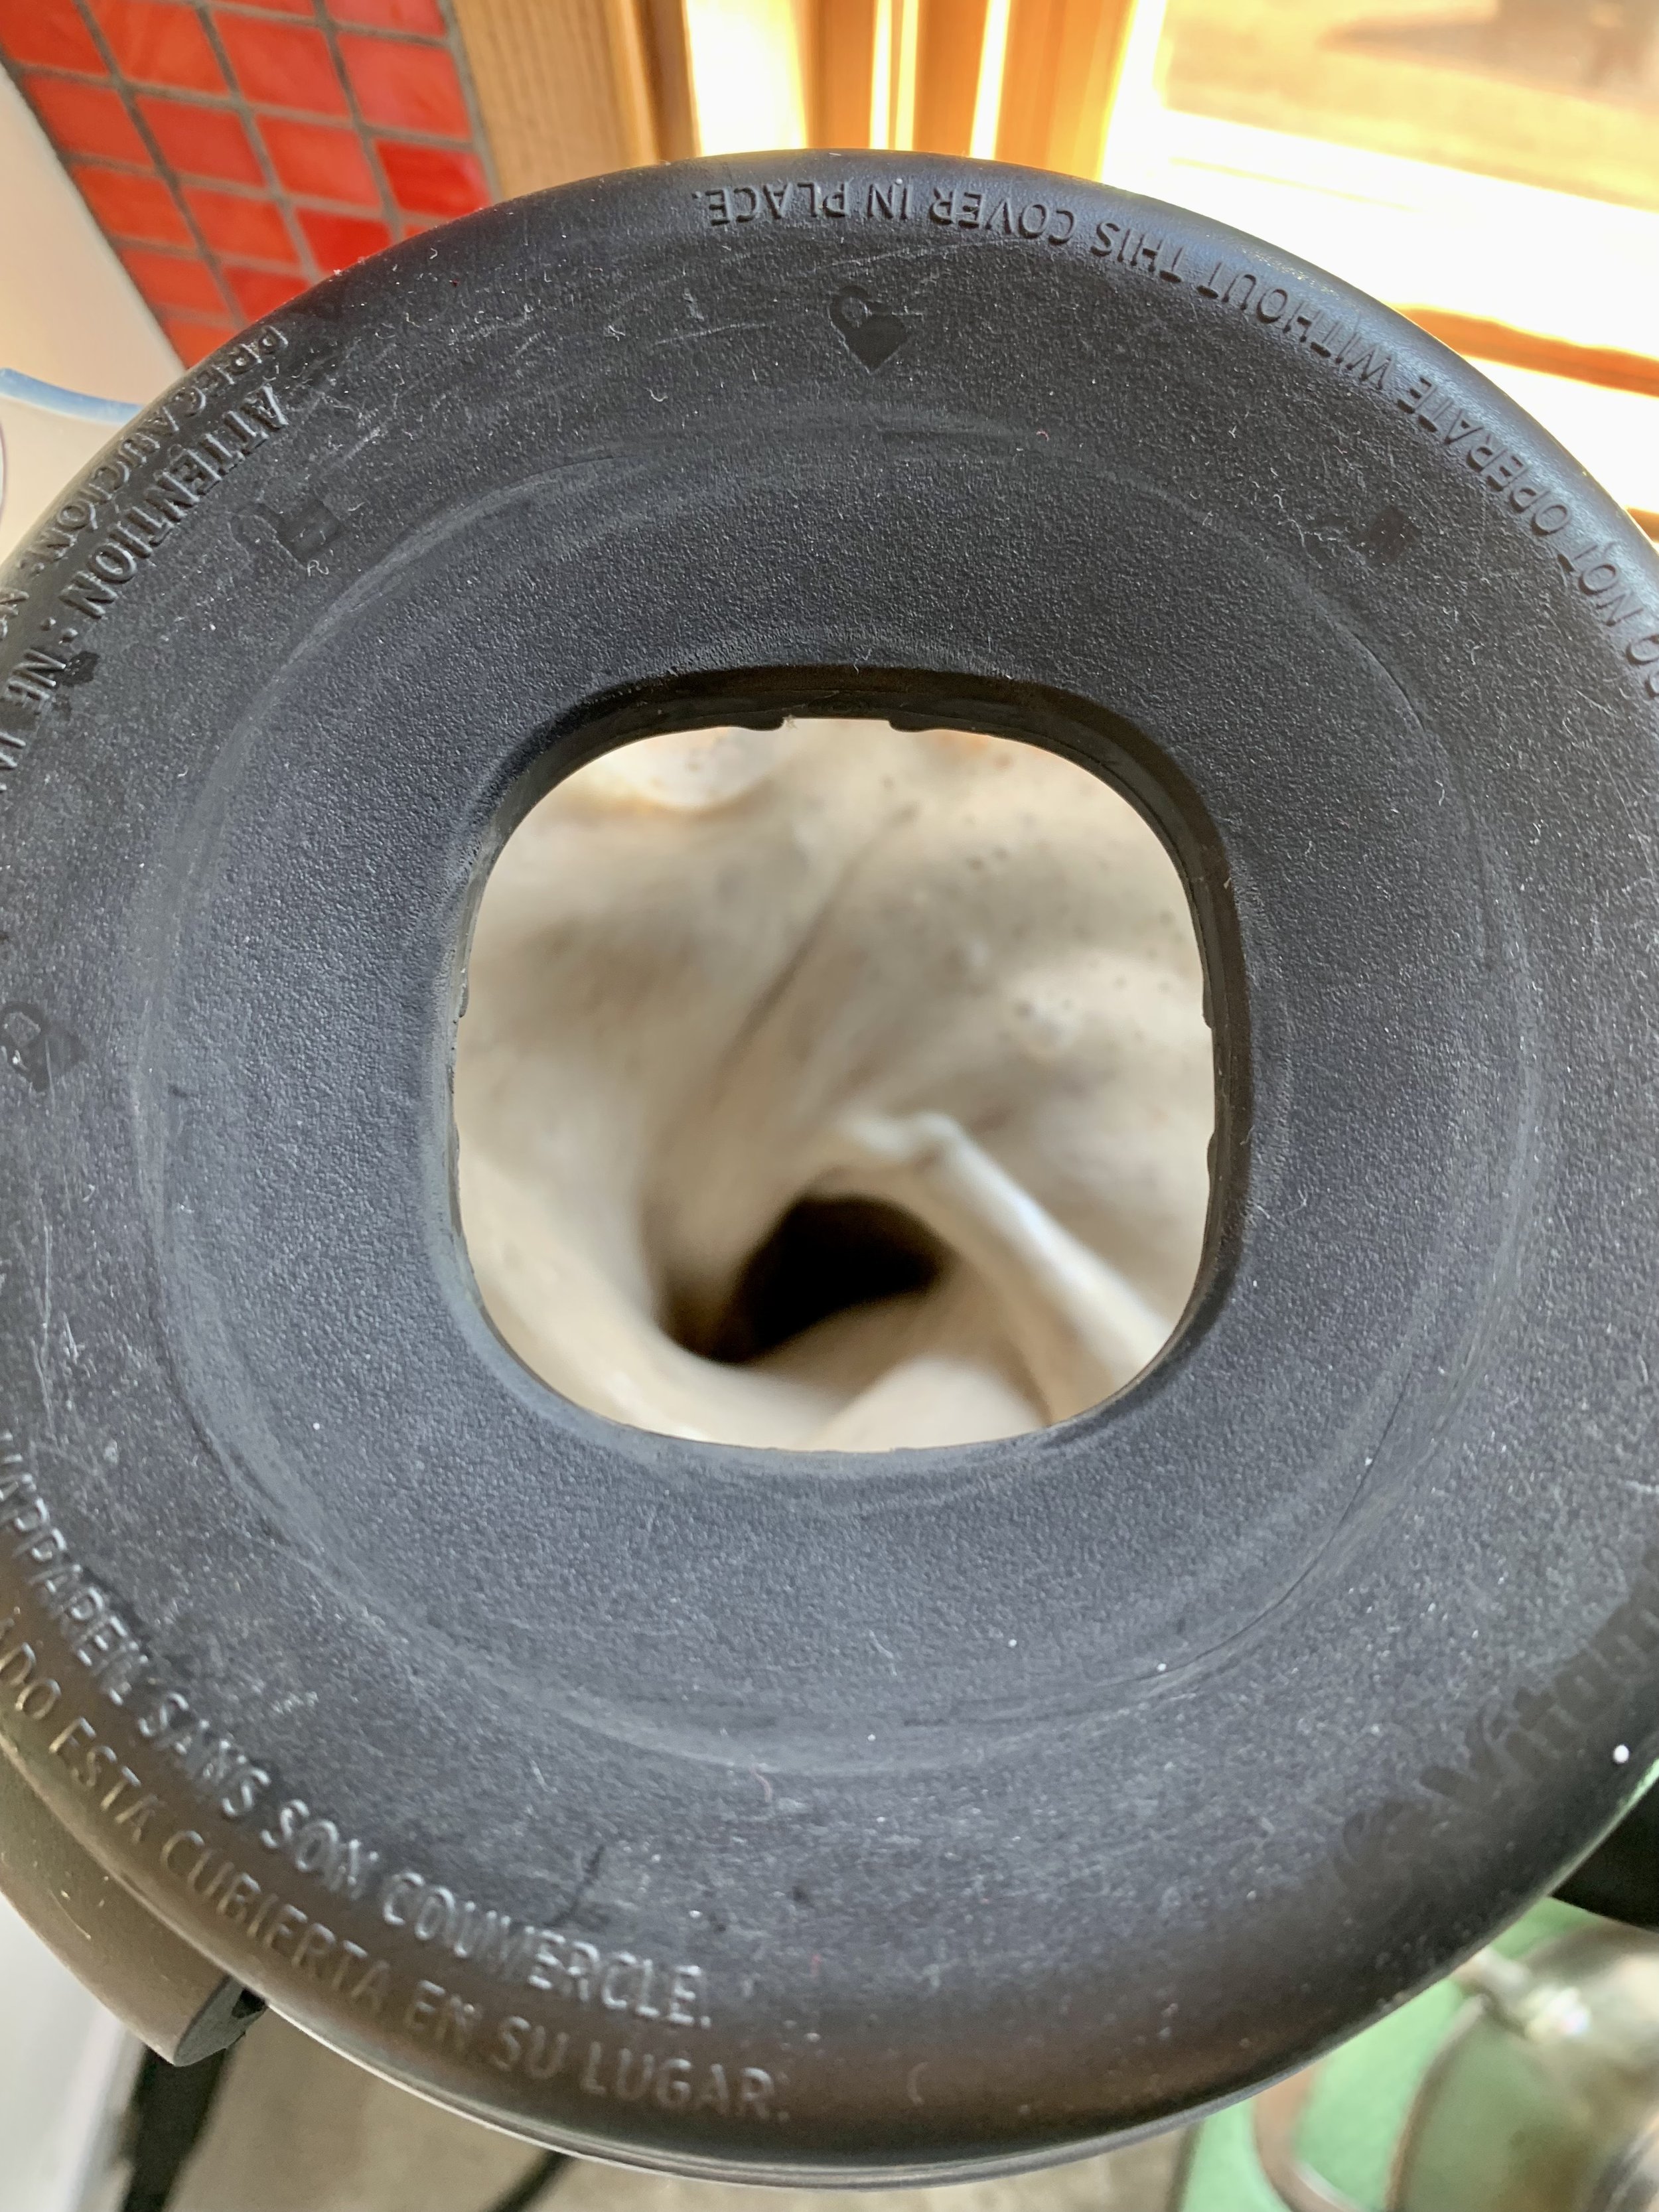
Blend until the liquid is white and frothy. If it’s still grainy, let stand for 30 seconds and blend again.
When to strain the milk
For certain plant milks, it’s best to strain after blending for creamiest results. Most notably, you should always strain almond milk, unless you enjoy grainy milk. For this purpose, use a fine mesh cloth strainer (usually in the shape of a bag), that you can buy online or at your local kitchen supply store. These strainers are ultra-fine and will strain out all of the grainy particles, leaving you with a deliciously creamy plant milk.
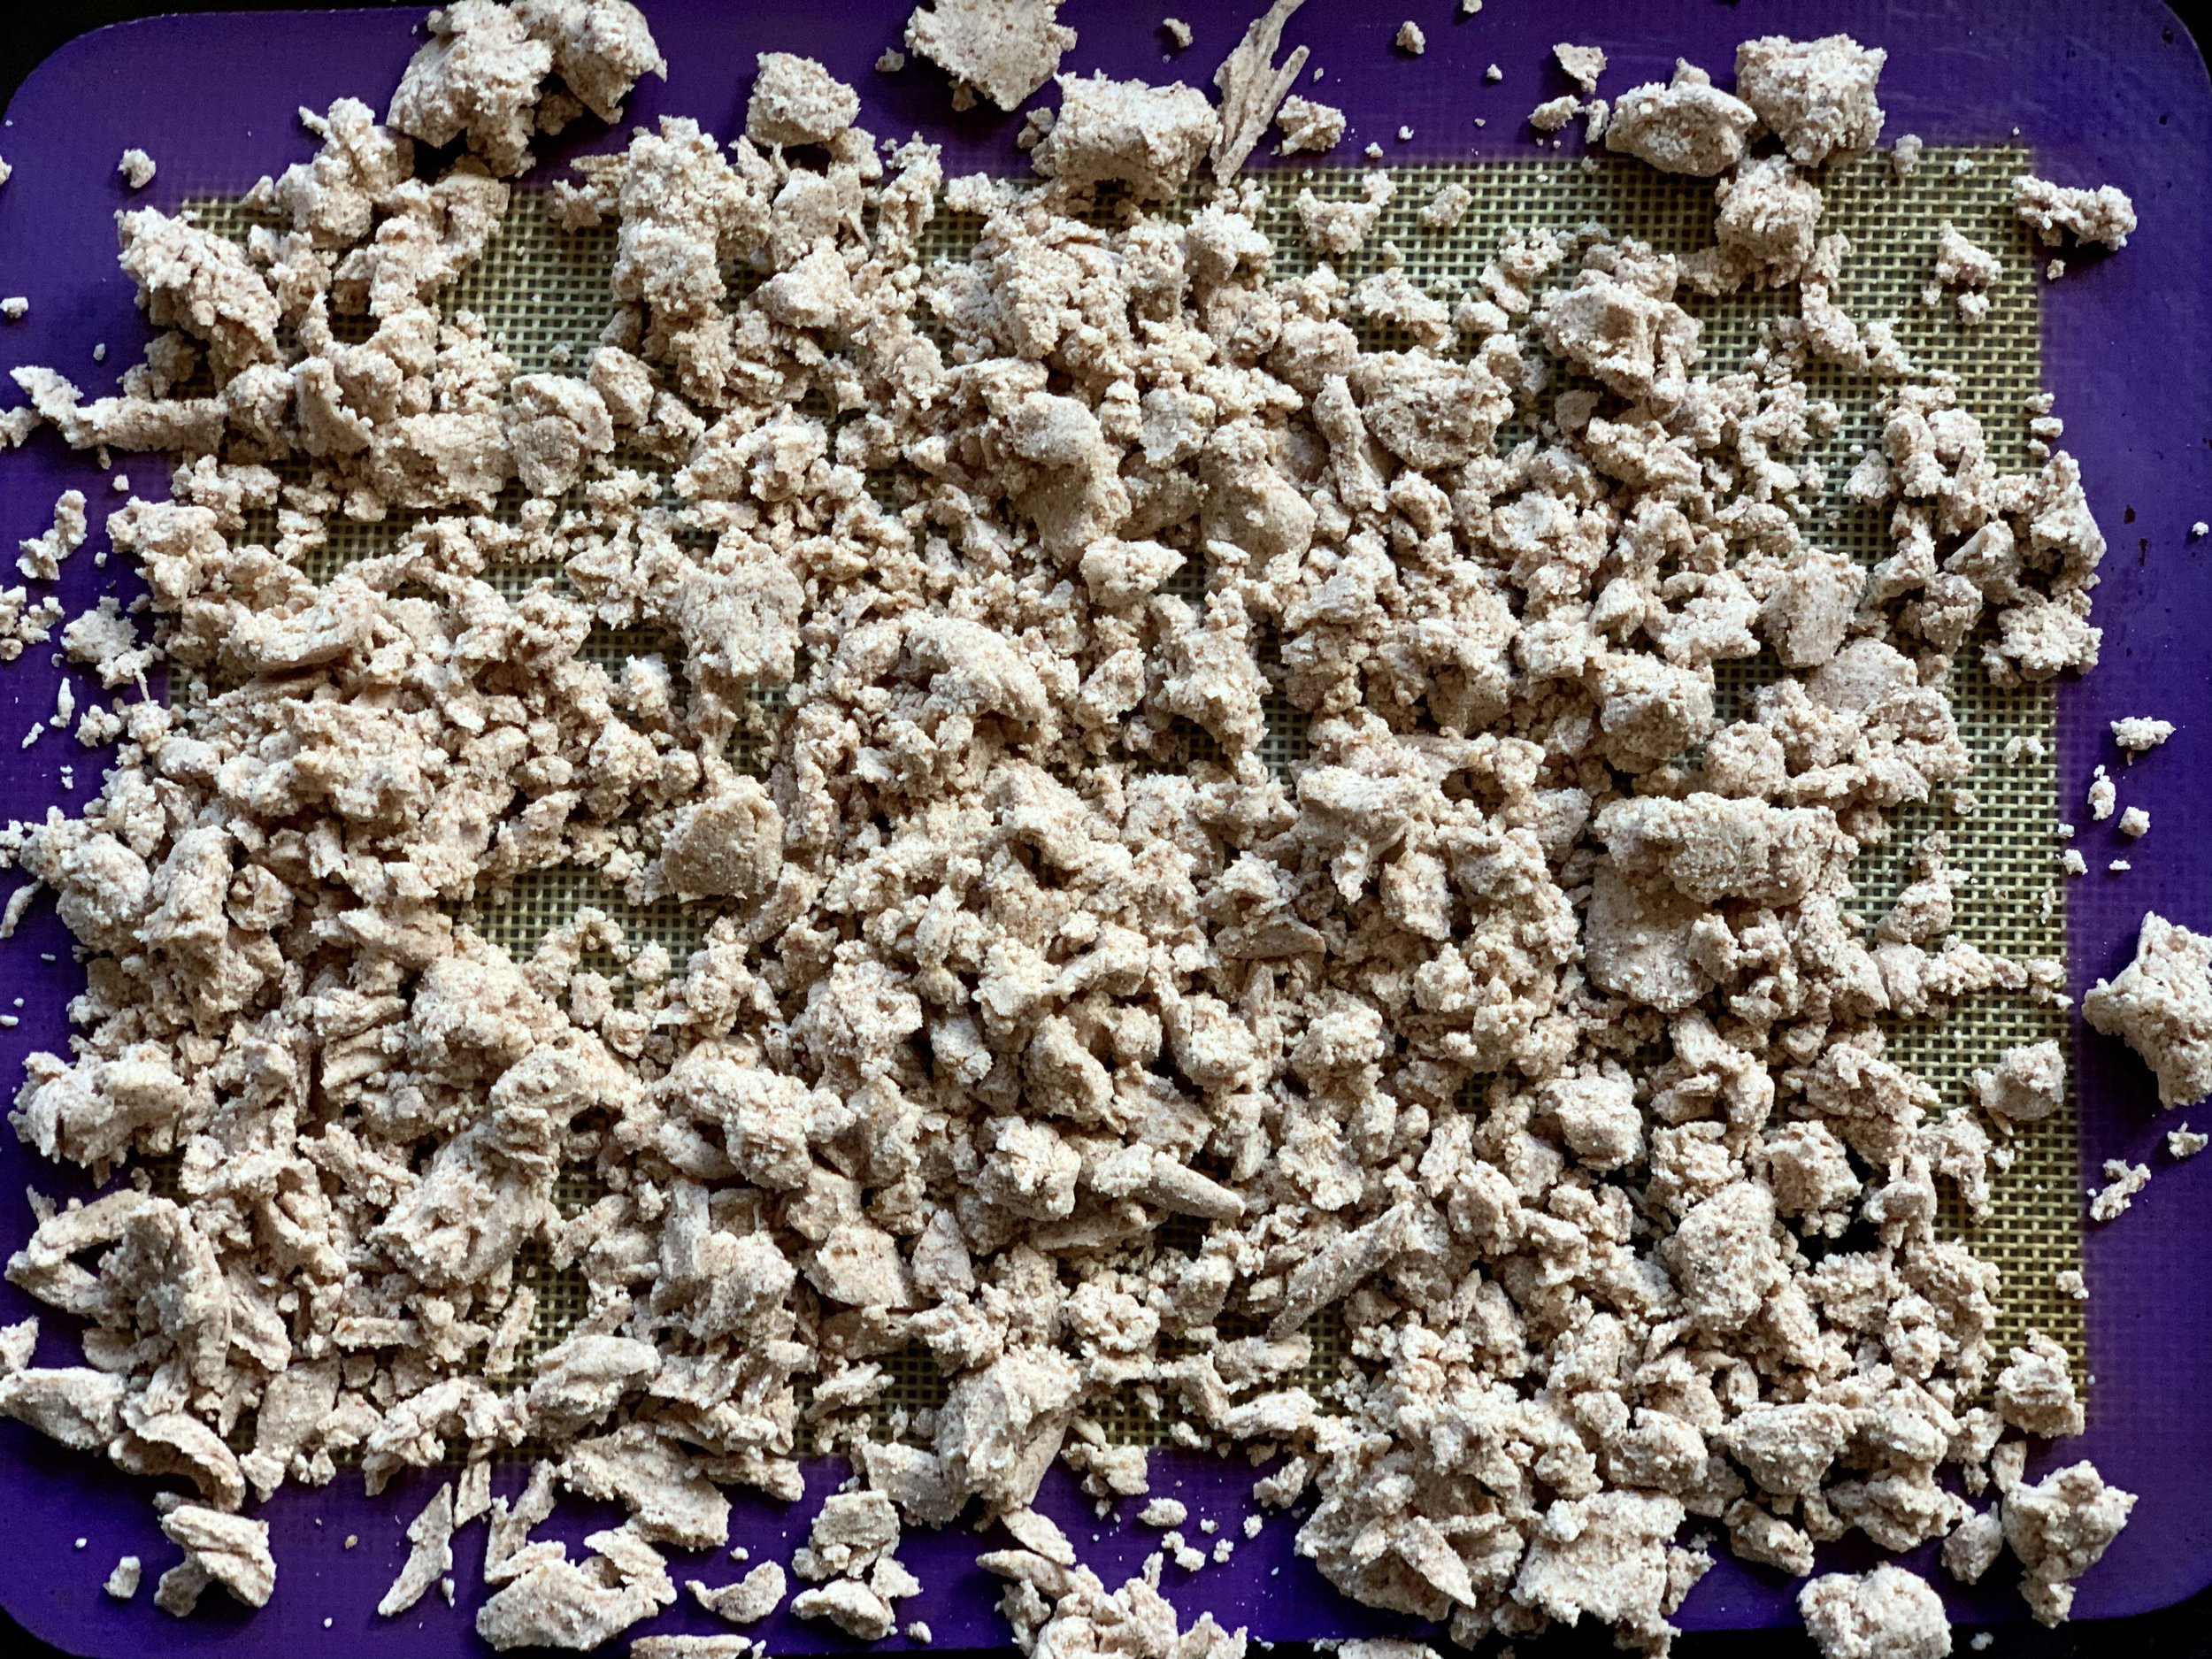
Just pour the liquid through the strainer (above a bowl or similar vessel), and squeeze to get as much liquid out as possible. What’s left in the strainer you can then dry (in a dehydrator or in the oven on a low setting) and use in your cooking and baking (almond meal, for example, can be used just as you would use almond flour), or compost if necessary.
In a pinch, you can use cheesecloth or even a fine metal strainer, although these methods tend to be messier and don’t always strain out finer particles.
You can dehydrate leftover almond meal in your oven to use later in baking!
How to store plant-based milk
Have you had a glass of freshly-blended (or, milked, shall we say) plant milk? It is incredibly delicious — as good as (if not better) than anything you can get in the store.
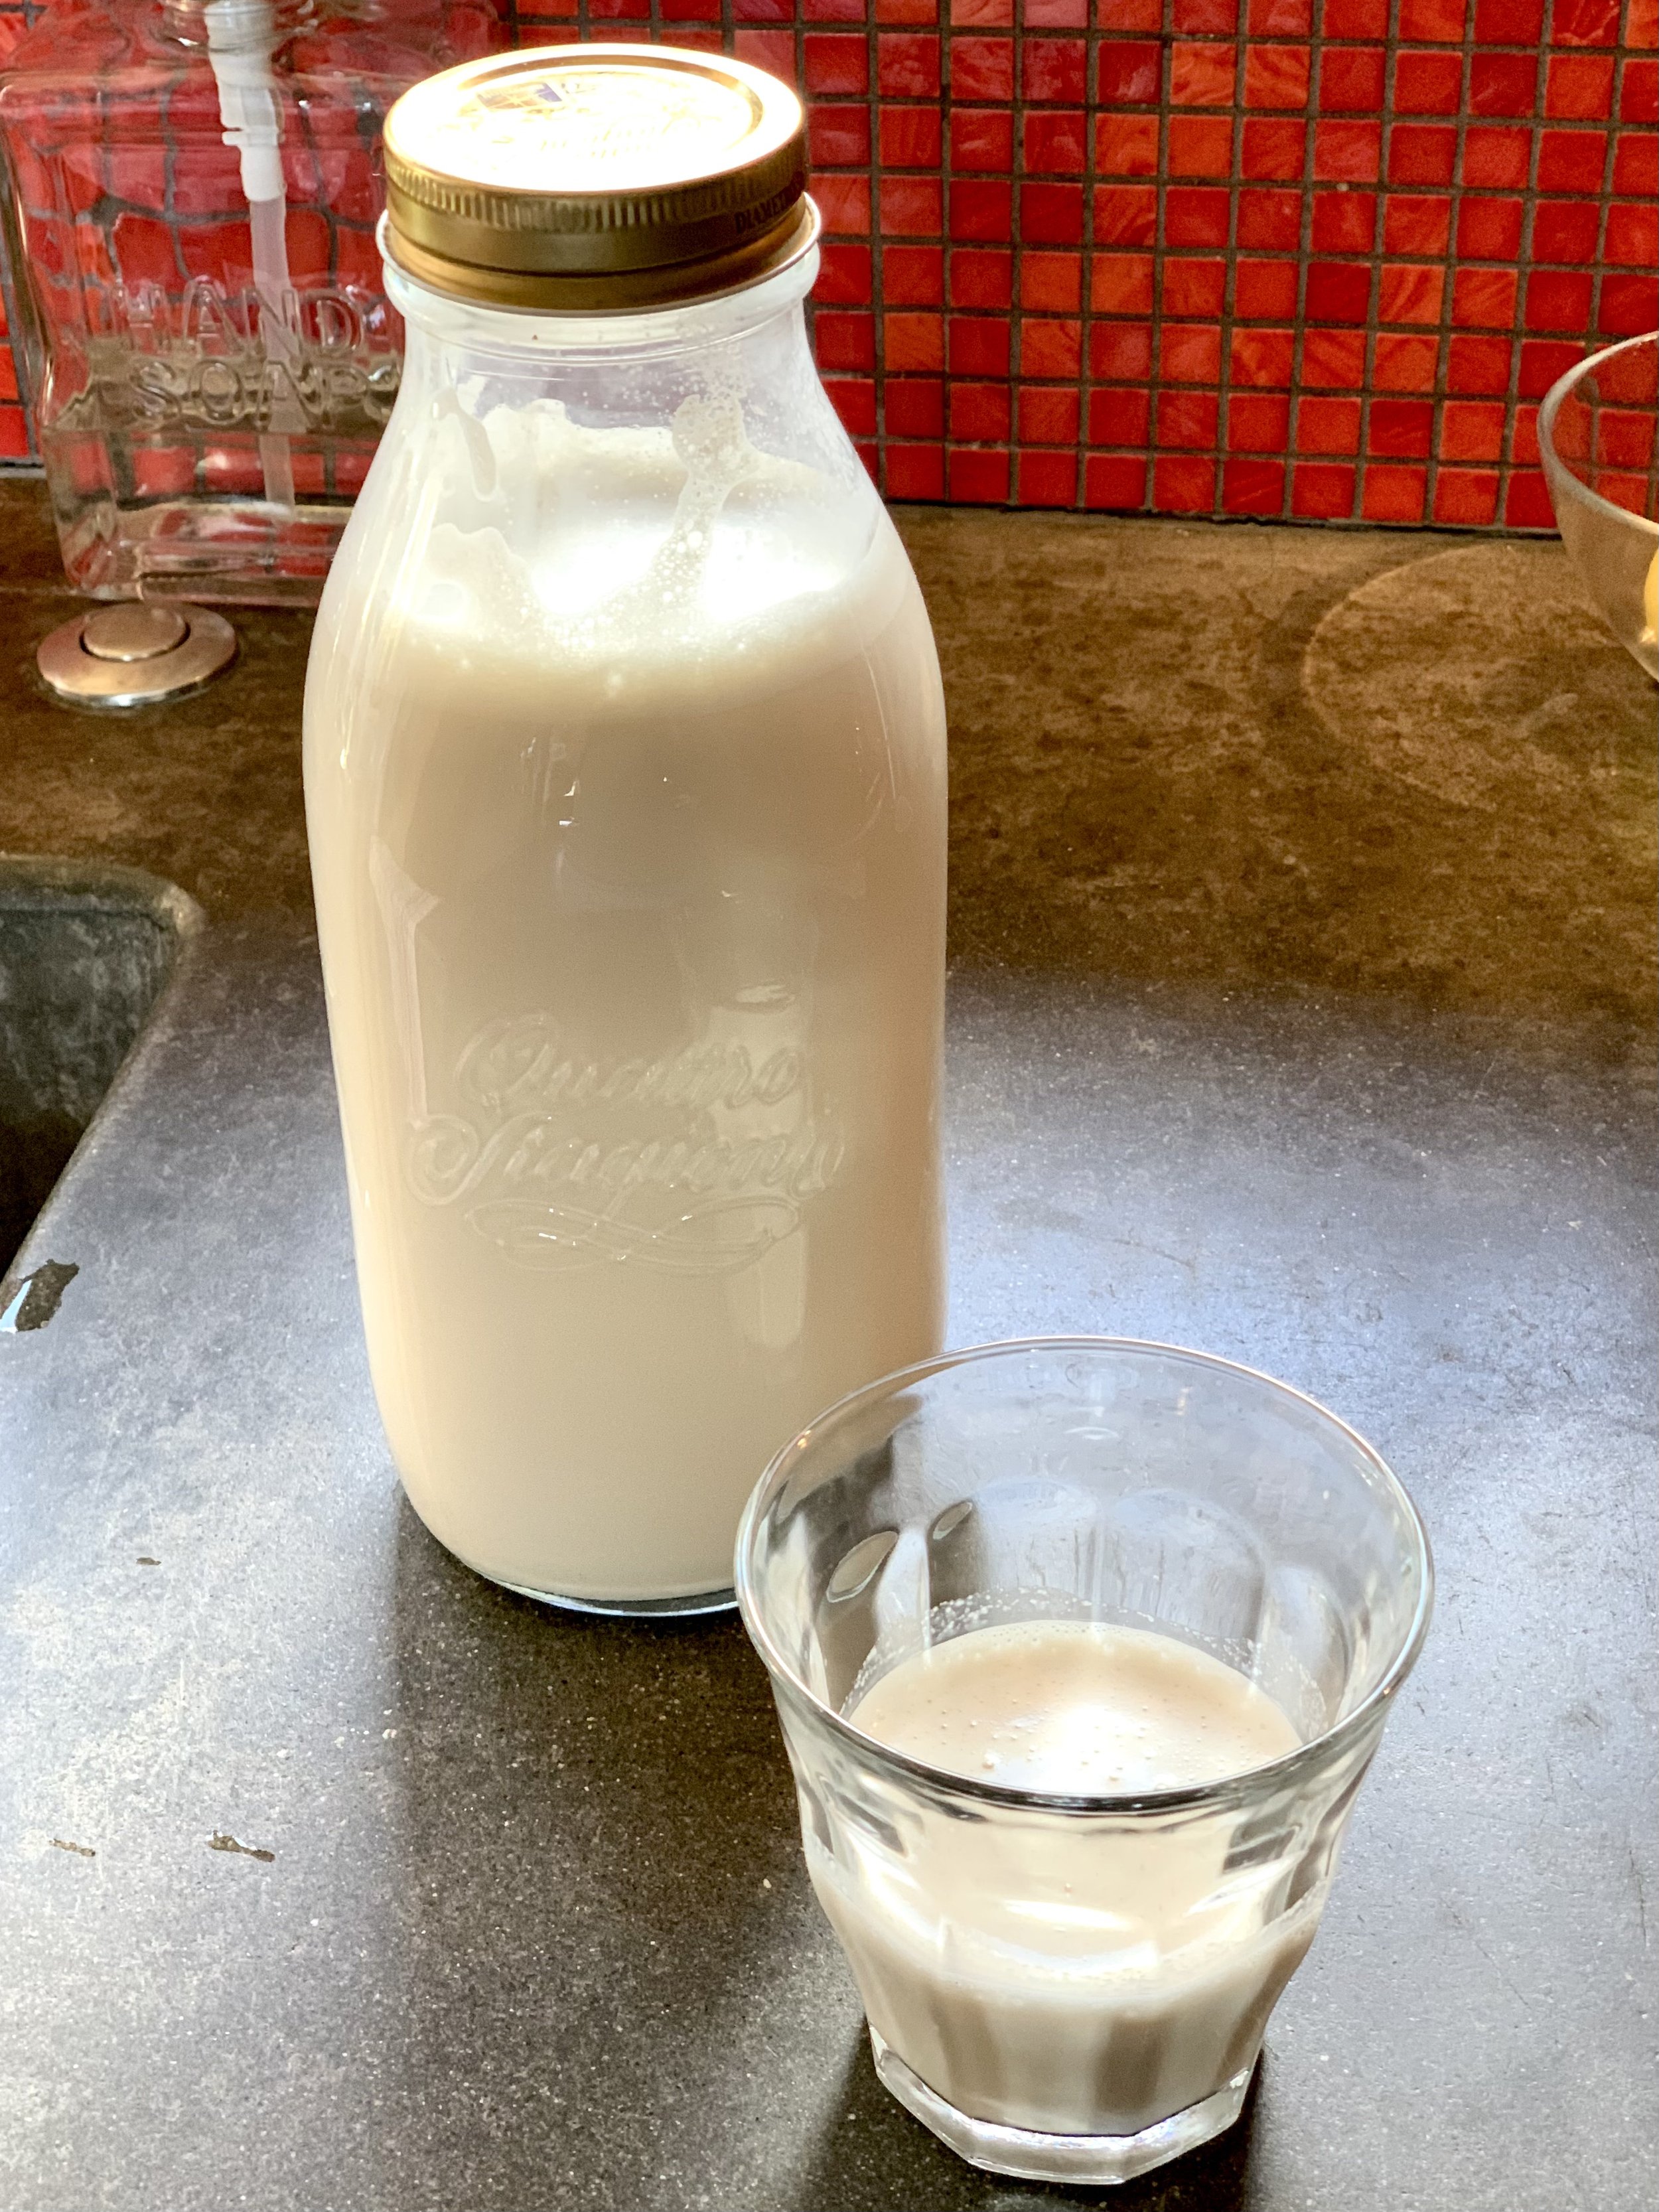
If by some miracle there’s any left to store, you’ll need to pour it into an airtight container. I prefer to use an old-school glass milk bottle (you can find these at thrift stores or buy them online). Glass jars work just fine as well.
Keep your plant milk cool in the refrigerator. Without those “stabilizing” chemicals, homemade milk will go off faster, so it’s best to drink it within a week.
What’s your favorite plant milk to make? What’s one that you’d like to try making next? Let us know below!

